What Does a Long Exposure Sunset Mean?
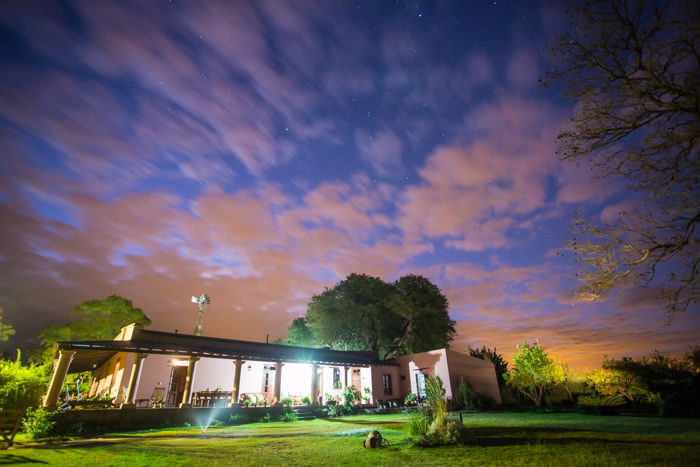
While there is no clear definition, I categorize long exposure as any shutter speed that I cannot handhold. This includes anything from 1/15th of a second up to multi-minute bulb mode exposures. 1/15th is long enough to blur for fast-moving water. That’s my threshold for longer exposure. When the conditions are too dark for standard shutter speeds, you may opt a long exposure rather than increasing your ISO. High ISOs create noise, which reduces image quality. This may be particularly important late in the sunset, around dusk, when the light is very low. In this case, with a good tripod, a long exposure will be preferable to a high ISO.
Tools for Long Exposures
First, you need a camera equipped with manual mode. You need control over settings like shutter speed, aperture, and ISO. Next, you’ll need a lens. Wide and mid-range lenses are the most useful focal length for sunset and landscape photography. You’ll also need a sturdy tripod. A good tripod will not shake or be easily blown around in the wind. This opens your creative options and the conditions under which you can shoot.
Some additional accessories that may help you get long exposure shots are neutral density or ND filters. ND filters reduce the amount of light entering your lens, like a pair of dark sunglasses. As the incoming light is reduced, you need to start increasing your shutter speed to make up for the change. When going for long exposures, that’s exactly what you want. ND filters come in a variety of different types. Square filters that require a holder attachment for your lens are common. You can also get round ND filters, that screw onto your lens. My choice is the variable ND filter. A Variable ND filter is adjustable. As you rotate the two elements in the filter, the view gets darker or brighter. In a single filter, you can often accomplish 8 or more stops of change. Quality is inconsistent between brands. High-end ND filters are expensive, but there are some deals out there if you keep your eyes peeled.
Use a Small Aperture to Create Depth of Field
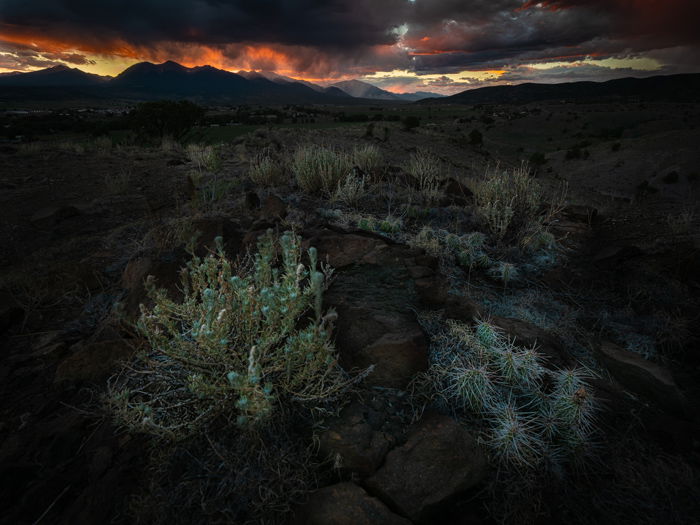
Strong foregrounds are a key to success in wide-angle landscape and sunset photography. Often (though not always) you’ll want both your foreground and background to be in focus. If that is your goal for the image, you have to use a small aperture to create a sufficient depth of field. The small aperture (f11 and higher) will require you to either crank up your ISO, or use long shutter speed. As long as I have a good tripod, I usually opt for the longer shutter speed to maximize image quality. I can’t emphasize how important the depth of field can be. During a recent sunset shoot in the mountains of Colorado, it was stormy. The last of the afternoon thunderstorms were blowing off, and the sky was dark and ominous. I wanted to use that to create an image with a threatening mood. The rough and spiky desert vegetation was just the trick. A deep depth of field was absolutely necessary to retain detail as well as the mountains in the background. When creating your image, consider your needs and the final image. Use your camera settings as one of the tools to create that image you envision. Long exposures may be just what you need.
Creating Motion Effects with Long Exposure Sunsets
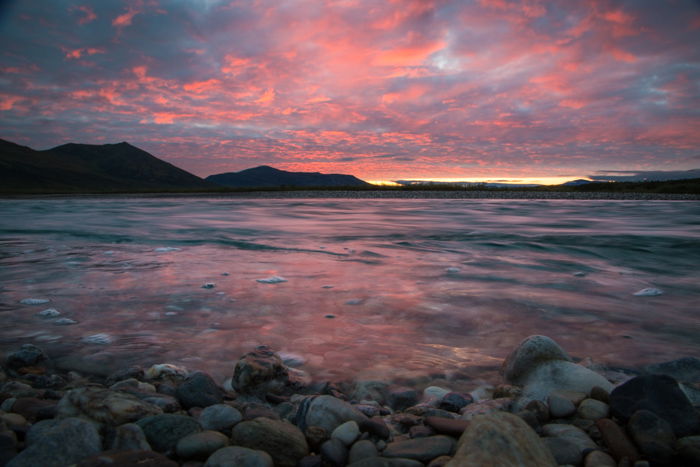
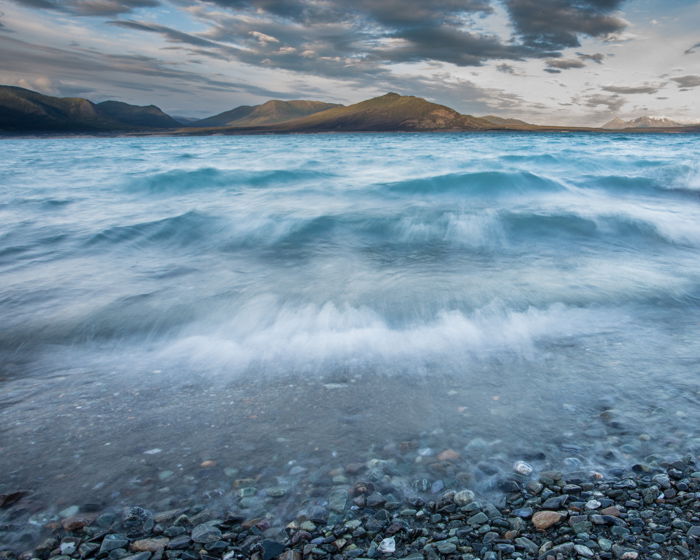
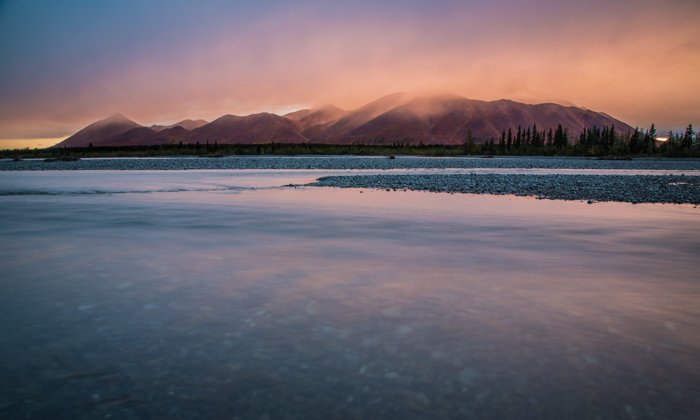
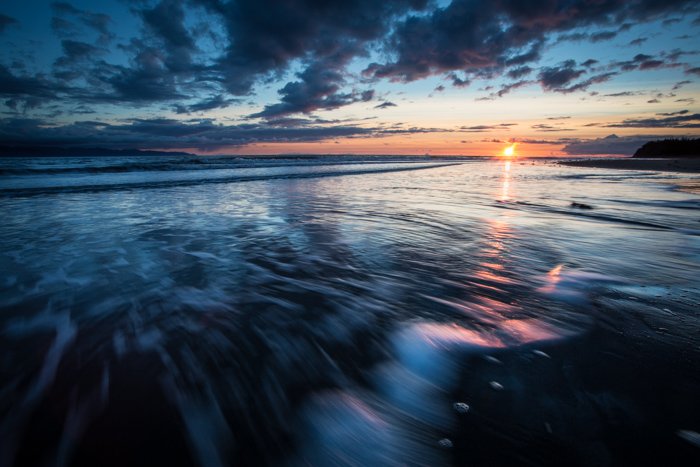
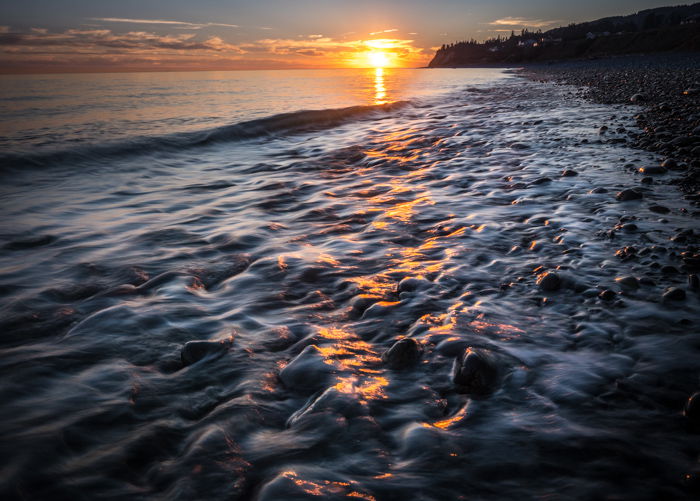
Motion effects are very important in landscape and sunset photography. Smooth water, blurred clouds, and the lights of passing cars can all make compelling elements. To create motion effects, you need to have some part of your composition in motion. That can mean blowing grass, fast-moving water, or slower moving elements like clouds. The slower the subject moves, the longer your shutter speed will need to be to create a sense of motion. While a fast river can blur smoothly in under a second, slowly lapping waves on a lake or the ocean may require several seconds.
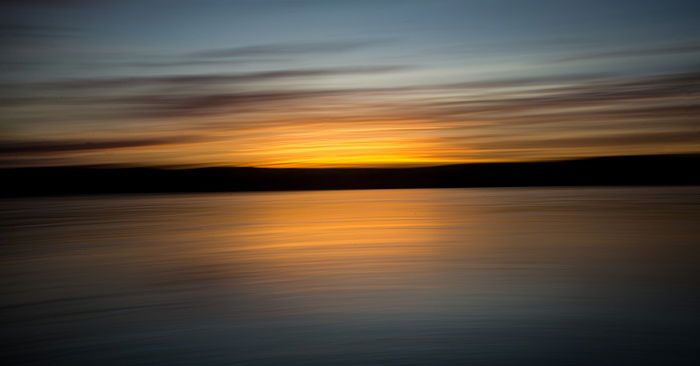
Clouds may require an exposure of 30 seconds or even several minutes to effectively blur. There are a couple of techniques to make this happen. You can use bulb mode which allows you to create as long of an exposure as you wish. When using bulb mode, you’ll need an external trigger with a shutter lock functionality. When creating very long exposures at sunset, you’ll likely need to use a neutral density filter of some kind. Even with a very small aperture, and low ISO, long shutter speeds let in so much light that it can lead to blown-out highlights. A workaround to blurring clouds is multi-exposure composites. You may find it easier to take several exposures over the course of a few minutes. You can then merge them using Photoshop or other post-processing software. While this technique is outside the scope of this article, it’s a good one to learn.
Pitfalls of Long Exposure Sunset Photography
Blown Out Highlights
I’ve mentioned this before, but you need to watch your highlights when using long exposures. I like mirrorless cameras because they allow me to see a live histogram as I compose my image. Lost highlights are a real problem in long-exposure sunsets, so be careful.
Camera Motion
If your camera budges even a bit during a long exposure, you’ll get a bad blur. It happens. You bump your tripod, or even stomp too close, and that tiny shudder will blur your photo. Sometimes you aren’t even aware of it until you get back home and put the images on your computer. This can be heart-breaking. What can you do to avoid it? First, be careful and don’t touch your camera or tripod during the photos. Second, use a remote shutter release, or your camera’s two-second timer to avoid vibration from pressing the shutter button. If you shoot with a DSLR, the slap of the mirror is sometimes enough to cause vibration. Most cameras have a “mirror lockup” function. Find this, and learn how to use it when creating long exposures. Finally, as I mentioned earlier, use a good, sturdy tripod. The stable base will limit wind interference, and absorb other minor vibrations.
Common Questions
What Is the Best Setting for Sunset Photography?
A tricky question – the answer depends greatly on the situation in which you find yourself. In general, you’ll want a deep depth of field to keep both foreground and background in focus. That means a small f-stop, from f 11 or f 16 on up to f 22. Using small aperture means you’ll either have to crank up your ISO or extend your shutter speeds. Often, that means creating a long exposure.
When Should I Take Long Exposure Photos?
You should make longer exposures when you have insufficient light for short shutter speeds. It can also be used if there is an effect like smooth water or blurred clouds you want to create, or you need an extreme depth of field.
How Do You Capture Long Exposure Clouds?
Clouds, unlike water, or blowing grass, move slowly. To get an effective blur in the clouds, you’ll need to use an exposure of many seconds, or minutes. This can be hard when using a single photo. In bright conditions, you may need several exposures, merged in post-processing to create the blur you want.
Conclusion
Long exposure photos of the sunset can be a great way to integrate motion into your shot. Motion is a great tool in landscape photography and will make images more compelling. Plus, long exposures are a valuable tool when the conditions are too dark for normal shutter speeds. Experiment with long exposure sunsets, and share some of what you get. I’d love to see how you’ve used long exposures in your photography! To capture stunning long exposure shots, check out our course – Infinite Exposures!


