Urban photography captivates audiences with depictions of everyday life. This article will show you how to get started with street photography. We’ll give you all the urban photography tips you need. Turn the cities into photography playgrounds! [ExpertPhotography is supported by readers. Product links on ExpertPhotography are referral links. If you use one of these and buy something, we make a little bit of money. Need more info? See how it all works here.]
Getting Started With Urban Photography
People, animals, places, details, landscapes, abstracts. City photography encompasses such a large scope for material that it can be hard to know where to begin. Look up urban photographers and check out their images. It’s important to get some inspiration first and decide what you want to focus on. Some city photographers only capture buildings. Others prefer to shoot during the night rather than during the brightness of the day. Make yourself familiar with city photographers and their diverse style.
Get the Right Equipment
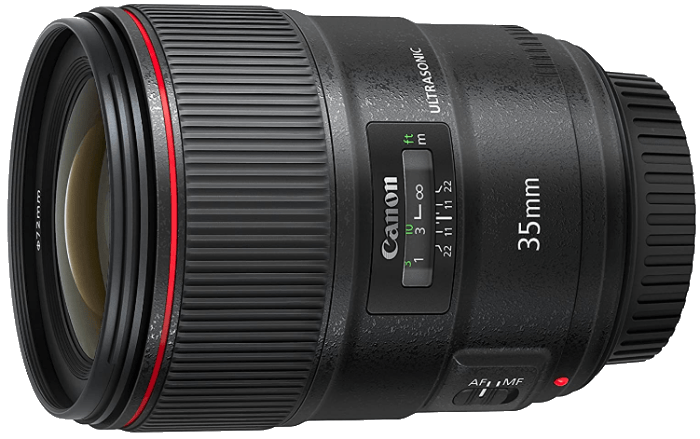
Street photographers use all kinds of cameras to capture their surroundings. Some resort to classic film photography with fully manual SLR cameras. Digital photographers may choose a top-of-the-line rig. Or make use of a classic family-range compact. Keep in mind that smaller, light-weight cameras are generally preferable. They are less bulky, making for more intimate photographs of people on the city street. More technical considerations include ISO sensitivity, dynamic range and autofocus speed. A camera with a lag in autofocus will leave you with a day’s worth of blurry shots of moving subjects. LCD screens, continuous shooting speed, lens’s focal length, aperture and on-board flash are also important factors. Lens selection is as important as camera body selection. Prime lenses are used for their light-weight and predictable results. The less moving parts, the better. But for larger scenes, a zoom or wider angle lens will be a better fit.
Choose the Right Lenses for Your Photos
My photography bag is always packed with a few different pieces of equipment. My camera, a 5D Mark III, paired with either my Canon EF 24-105mm f/4L IS USM or my Canon 50mm f/1.8 always come along on photography trips with me. The 50mm, my ‘prime’ or ‘fixed focal length’ lens, offers great sharpness and resolution on a full frame sensor. Henri Cartier-Bresson used the 50mm prime lens for his street photography. It minimises the distortion that you’d experience with a wider lens. The 50mm is labelled as a ‘normal view’ lens because it has the same field of view that the non-peripheral human vision has. This will give your work a more personal touch and allow the viewer to relate. My larger EF 24-105mm f/4L IS USM lens is the workhorse for my urban subjects that need a wide-angle lens with some zoom to capture detail. The lens is great for shooting urban landscapes, people, and detailed abstract subjects. The downside of this lens is that it’s pretty large and imposing. I’ve found that the larger the lens, the less accommodating people are to be photographed. The lens is heavier than the 50mm lens. Its weight makes it hard on the back after a long day of shooting in the city.
Have a Bit of Fun with Different Cameras
For a bit of fun, I also like to have a disposable or ‘toy’ camera. Disposable cameras are quite cheap in bulk and are really easy to use. Some even come in a plastic housing for underwater photography. They are durable and a fun twist for photography in the city. Disposable cameras also have a very distinctive look about them. They usually have a low-quality film inside. But they have a retro feel that brings back memories of school photography. I recommend purchasing disposable cameras that come with an in-built flash. Without the flash, even the brightest day can turn out underexposed. Not to mention night images when there is not enough light. Don’t be afraid to experiment with a few different cameras to see what you like. Get more comfortable you are with your camera. Then you will worry less about the technical aspects. This leaves you free to respond to your surrounds in a much more authentic way.
Adjust Your Camera Settings to Save Time
To capture the candid moments, you’ll need to be ready to shoot without struggling with your camera. Program Mode is one way to take control of exposure. Once selected, it will adjust both the aperture and the shutter speed. This produces what your camera considers to be the best exposure for the scene. Unlike Automatic Mode, you can still adjust the camera’s combinations of ideal exposures. You can change the shutter speed and aperture in tandem. This means you are free to focus on camera settings for different artistic effects. And you are maintaining correct exposure meanwhile. For my urban photography, I shoot in either Shutter Priority Mode or Program. Shutter Priority allows me to adjust the shutter speed to match a situation. While it is leaving the camera to dictate my aperture. If I’m looking for a lot of camera movement in my image, Shutter Priority allows me to shoot at very slow shutter speed. While it is maintaining decent exposure. Depending on the scene, you may want to switch to Aperture Priority mode instead. Aperture Priority allows you to choose the aperture and adjusts shutter speed accordingly. This allows for much greater control over depth of field. As an alternative, you can use also Manual Mode if you are an experienced photographer. Don’t forget to master Sunny 16 before trying yourself out. Due to the diverse range of subjects in urban photography, it’s hard to make one rule about camera focus. Auto Focus is handy for quick, candid shots for people on street photography. But it can often be inaccurate, or get confused, delaying the shutter. Another method is setting your camera to manual focus mode. Pre-focus at a set distance, with a narrow aperture like f/11. If you’re photographing through a glass, you’ll need to use manual focus. The Auto Focus will struggle with reflective surfaces.
Stay Close to Home to Open New Opportunities
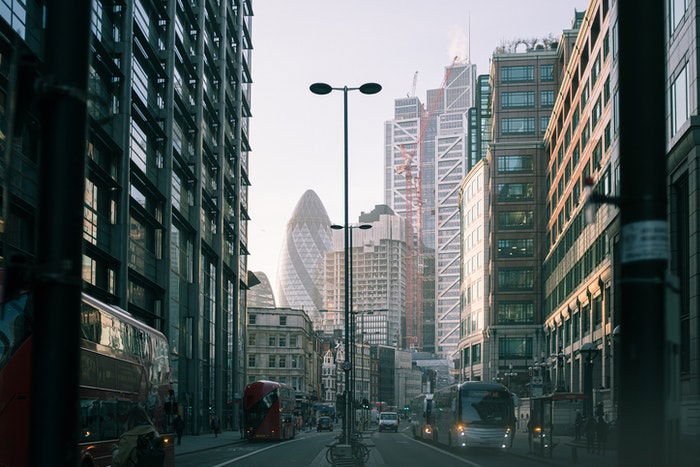
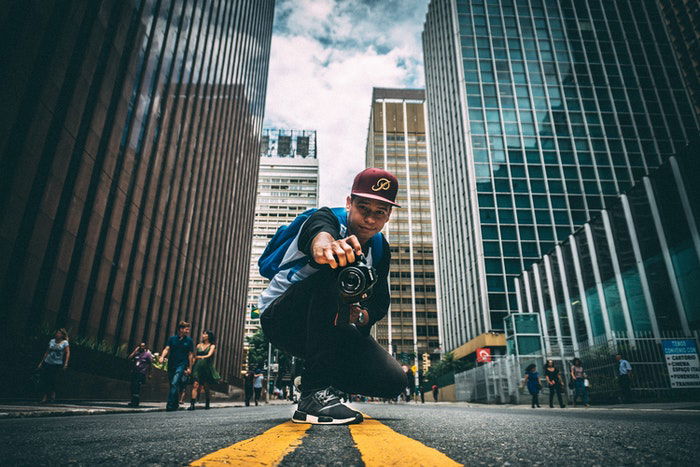
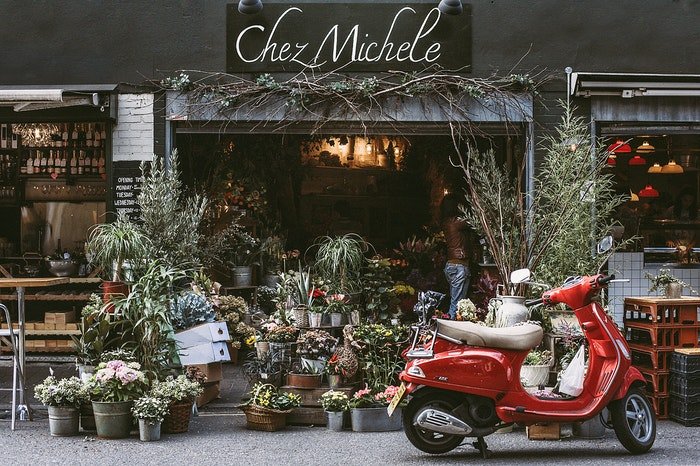
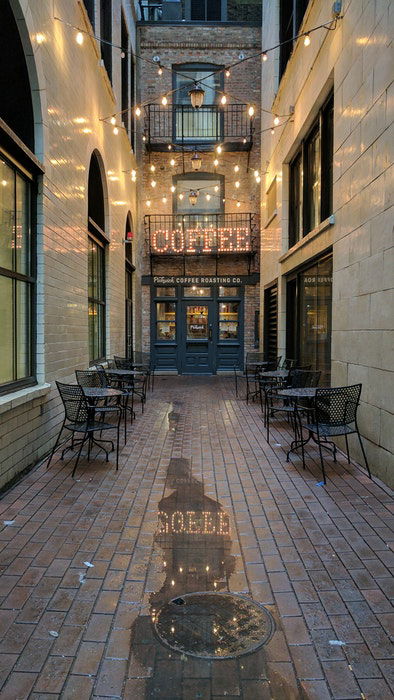
Photography travel across the world is fantastic fun. But you don’t need expensive trips to make successful city images. You may interact with it every day. But the landscape closest to home is a subject to start your urban photography. Sometimes we get so familiar with a place that we forget its artistic merit. Try to look at your local area through the eyes of a stranger. Or take a series of images from an unusual perspective, by placing your camera on the ground. You can take photos during the night as well. A city landscape gets a different look when you see it during the night hours. Exploring close to home reduces the stress of photographing in an unfamiliar location. It allows other locals to get to know you. This could open up more photographic opportunities in the future. Bars, parks, sports clubs, community halls and nearby nature reserves are great for city photography. Or go for a wander in the suburbs and see what you can find! It’s amazing what you’ll see through the lens of a camera.
Focus on Details of the City
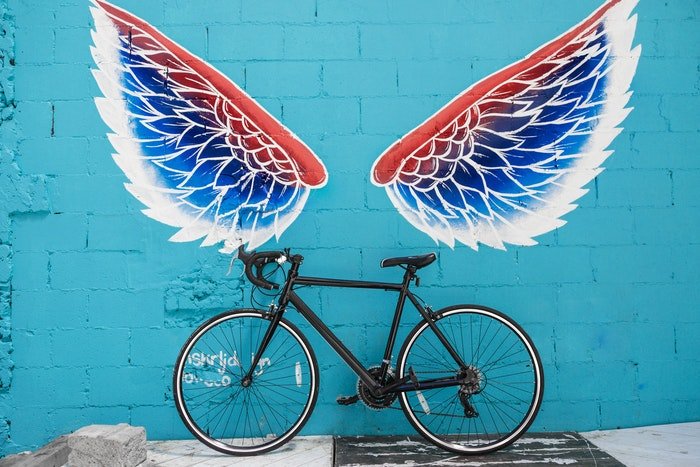
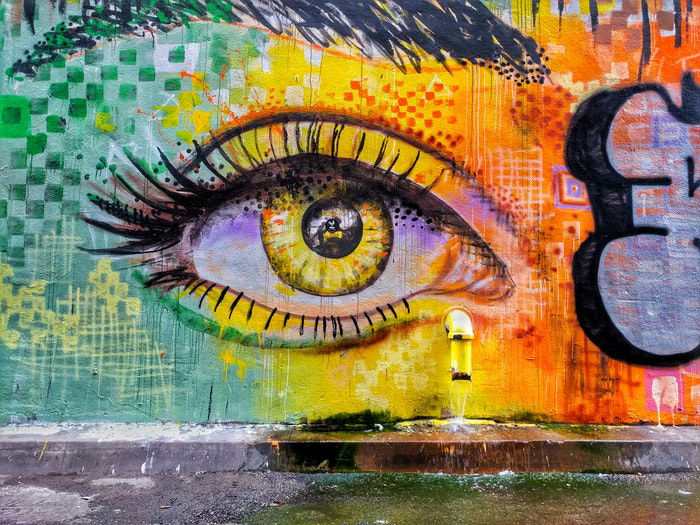
Sometimes it’s the details of the city that are worth photographing. It’s up to you to seek out the unnoticed beauty of a landscape. search for unusual patterns and textures, contrasting colors and hard lines. Moving closer is also a powerful way of isolating a subject and drawing attention to it. One of my favourite things to photograph is concrete bollards. It may sound boring at first. But the patterns in each square of concrete is unique and holds a particular story.
Shoot in Color or Black and White
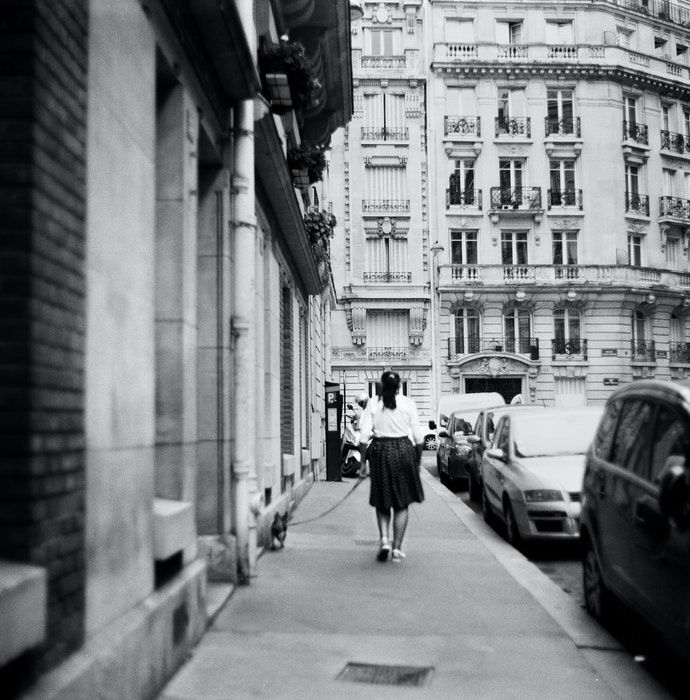
Choosing whether to shoot in color or black and white can be a tricky decision in urban photography. City images were often black and white in the past. But nowadays, there are plenty of street and urban photographers who focus on color. In general, a black and white scheme emphasises form and light. A monochrome image highlights texture and tones. It is creating a more dynamic range in both animate and inanimate objects. For urban photography, black and white also help reduce distractions. They are able to direct the viewer’s attention to certain parts of an image. It’s easier to emphasise drama with strong contrast and heavy vignettes as well.
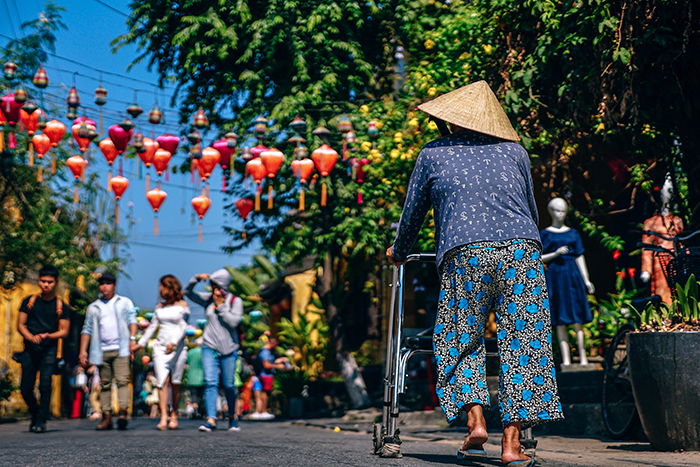
Colored images place greater emphasis on the world, as seen through the human eye. Its familiarity connects with a viewer in a more natural way. Color, especially bright, punchy color draws the eye of a viewer. Different emotions or times can also be conveyed through color photography. Warm colors suggest an autumnal portrait and cool colors can portray winter. Lush greens remind a viewer of the freshness of spring. Whereas fiery oranges and reds are characteristic of summer.
Capture Images of People to Add Interest
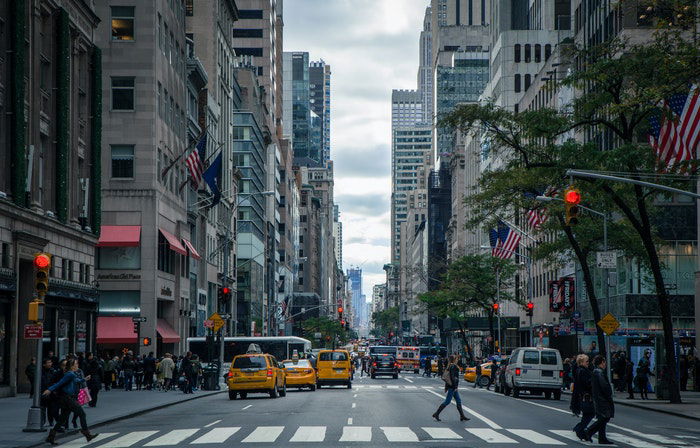
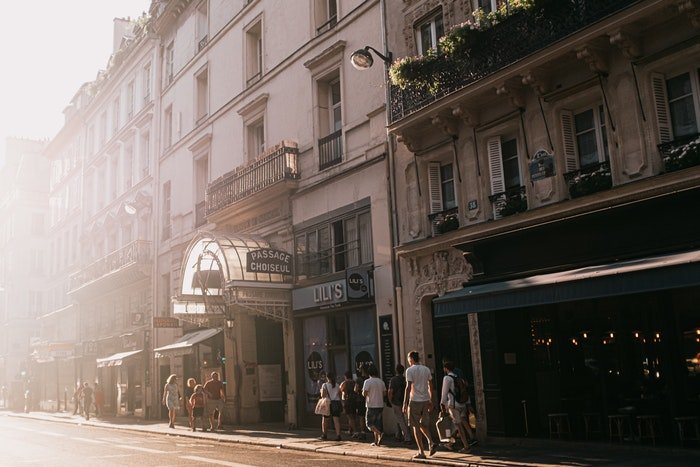
But if you are looking to photograph urban landscapes or detail, a larger lens may be necessary. The key is to make sure you are ready. Pack a selection of lenses to cover everything you expect to encounter. Better yet, pack for the unexpected! Having a good pair of lenses could be the difference between a missed opportunity and a great image. A classic technique for shooting street portrait photos is the ‘sit and wait’ method. Don’t hunt for the perfect image. Instead, choose a visually interesting spot and wait for a subject to enter your frame. This way, you will feel much more comfortable photographing the people. It will also be less likely that they will notice you. This allows for a more candid, natural-looking images. Keep in mind that not all urban photography has to have people in it. Look for visual elements like leading lines, color, detail and patterns. They help you emphasise the form and shape of an urban landscape. I enjoy scouting for evidence of human intervention around the city. Graffiti, footprints, abandoned buildings, rubbish, are all traces of people and the passage of time. Waiting in one spot for a subject to come to you is a great way to capture candid street portraits of people.
Conclusion
Urban photography captures the spontaneous, accidental encounters of life. It shows the hidden beauty in the urban environment. The genre has a wide scope in subjects, which may seem daunting at first. You can be doing architectural photography one second and portraits the next. Shooting urban landscapes presents the opportunity to photograph many different disciplines at once. In every urban corner, there is limitless potential for photography. All you need to do is seek it out! Now check out our article on photo walks and this one on photographing during overcast days. After more city photography tips? check out this article on 10 Best Spots For Photography in London. Love exploring outdoors? Try our Simply Stunning Landscapes course next!
