In this article, we’ll take a look at some of the things you need to consider when choosing a camera bag, and we’ll offer some tips on how to pack a camera bag effectively.
7. Pack a Camera Bag and Create a Photography Shot List
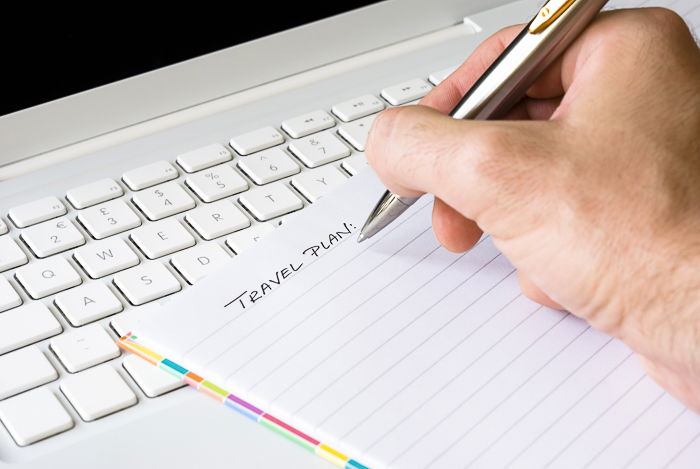
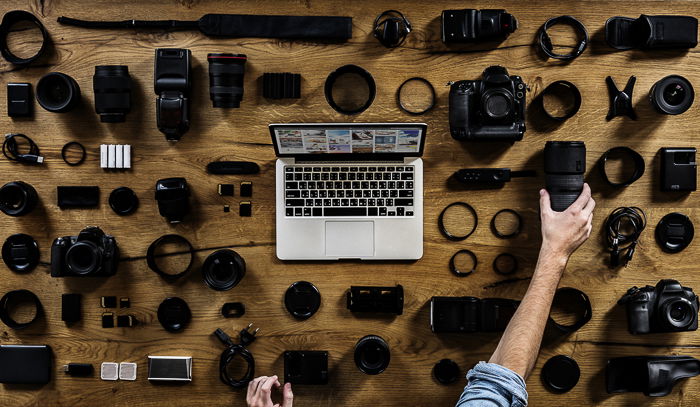
The key thing for packing your camera equipment is knowing exactly what you are going to need. It would be pointless carrying a load of equipment that you are going to leave in your hotel room. So the first aspect of any trip should be creating a detailed shot list. Not only does a shot list help ensure you capture the images you need, but it will also mean you only take suitable equipment for the shots. Once you have created your shot list go through it and make a note of what you will need for each scenario. For the majority of your shots, it should be the same set of equipment. But for some, you may need more specialist gear. For example, if you are going to be photographing wildlife you will need a telephoto lens. Or if you are going to be photographing in low light conditions such as at sunrise, sunset or at night, you will need a tripod. Once you have your list, get all the camera equipment you will need and lay it out. This will help you visualise what you will be taking with you.
6. Lay Out Non-Photography Items
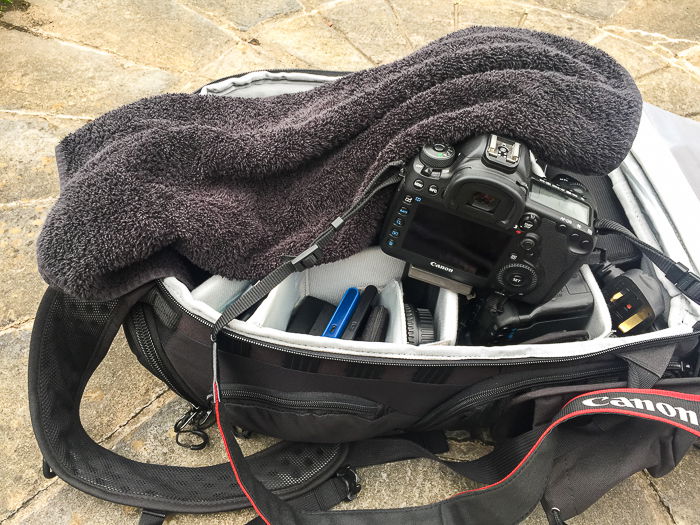
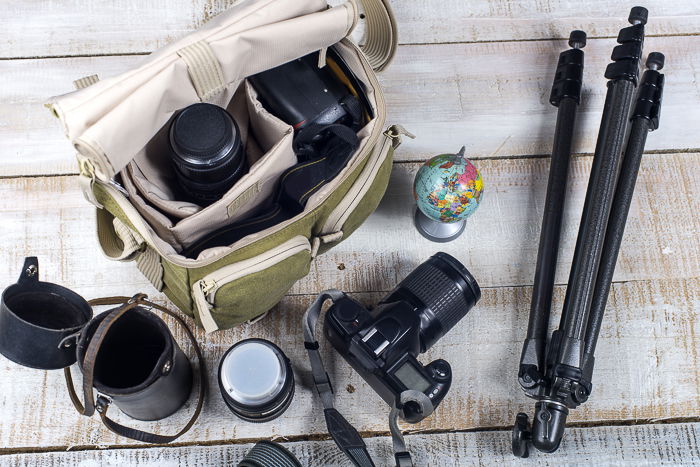
Once you have all your camera equipment in front of you, you need to add the non-photography items that are also useful when away. This isn’t things like clothes or your shampoo. It’s things like a small towel for cleaning your camera if it rains. Or hard drives for transferring your images onto. Even things like a first aid kit if you are planning a hike. These are the useful or essential things for your photography trip that are not necessarily camera related. Finally, after all this, you also need to factor in your clothes and toiletries as well.
5. Now Cut It All Down
Let’s be honest, how many times have you overpacked? It’s the same with photography equipment. While it’s important to take what you might need, you will often find that almost all your photos are taken with only a few bits of equipment. So ask yourself if you need to carry a whole range of different lenses or accessories? For most trips, you will get away with a wide angle lens and a telephoto lens. Unless absolutely necessary, leave it at home.
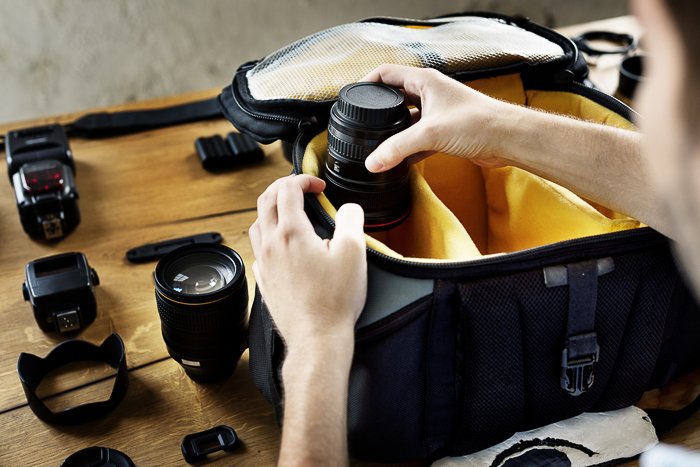
4. What Photography Bag/s Should You Pack
The point of laying all your equipment out is to ensure that you take the best camera bag (or bags) with you. Over time you will build a collection of a few different camera bags to serve different scenarios. For a hike, you might need a bigger backpack to house your tent, food, and clothes. On a city break, you’ll need a day bag. Make sure you think about what is going to be the best solution for your trip. Carrying a whole load of camera equipment all day can be tiring. The last thing you’ll want is to be uncomfortable. My set of camera bags consists of the following:
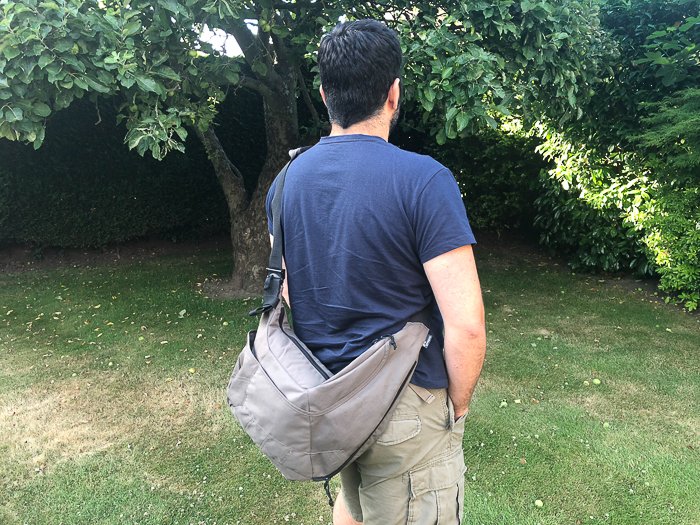
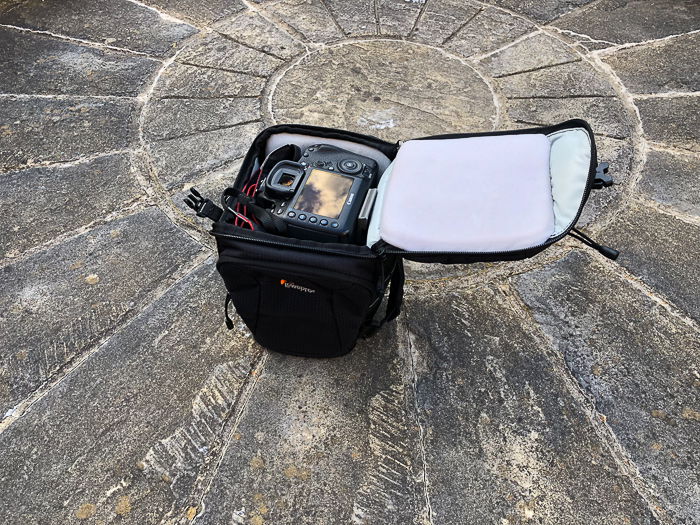
Day bag – a medium-size backpack that can store two cameras with two lenses. There is also plenty of room for other accessories such as filters, batteries and memory cards. It can also carry a tripod strapped to the outside of it. Most importantly this is approved for carry-on onto the plane. Hiking bag – much larger bag that can carry multiple cameras and plenty of room for things like clothes. It can also hold a tripod and water reservoir. Sling bag – a small over the shoulder bag that can carry a camera and another lens and some small accessories like batteries and memory cards. Useful for when you don’t want to carry a big bag around with you. Top-loader bag – big enough for one camera and lens. These bags are useful for keeping your camera by your waist to avoid having to constantly take your backpack off to get your camera out.
From these, I will then choose a combination that will serve my needs on a trip.
3. Aim for One Carry-on
The first part of any trip will usually involve getting on an airplane. Try to keep all your camera equipment in one backpack and take it on board as carry-on. Even things like memory cards and chargers are vital so keep with you. Some airlines can be strict about your carry on so make sure your backpack meets regulations. Try to use every space possible to fit everything in one bag but also be aware of laws about things that are not allowed. Modern camera bags are very spacious and you’ll be amazed how much you can fit in them. Using a 3-point slinger can be a useful option as well to carry on your camera.
2. Try These Space Saving Packing Hacks
If you do find that you are struggling to fit everything into one bag, try these useful space saving packing methods:
Use your top loader bag as an additional carry on – whilst you are usually only allowed one carry on bag, airlines will also usually allow an additional handbag or laptop bag. You can use your top loader bag as this and fill it with smaller heavier items from your backpack or suitcase. Pack your tripod – airlines will almost always ask you to check your tripod (unless it is very small). Pack your tripod in your suitcase and instead strap things like jackets to your camera bag. Not only will this protect your tripod more, but also airlines will rarely even notice a jacket strapped to your bag. Use jacket pockets – things like chargers, memory cards, small hard drives can all go into a jacket pocket. You can then always strap your jacket to your bag. Put things in other things – one of the most common suitcase packing hacks is to put items like socks in things like shoes. So if you have to put camera equipment in your bag, try to see if they fit in other items such as shoes. Not only will they have more protection but you will also save valuable space.
1. How to Pack for Easy Access to Your Gear
Another element to consider when packing for a photography trip is to pack things in a way that means they are accessible. For example, if you are going to be arriving at a destination and will need your tripod straightaway, pack it on one side of your suitcase. This will allow you to get it out quickly without having to take everything out first. Another tip is to keep things in compartments. This is especially useful when you are traveling to several destinations over a short space of time. By keeping things together in compartments, it makes it a lot easier to access things quickly and easily. Buy a few small plastic zipped bags to separate things like chargers from clothes and other things. This makes it much easier to get things out in a hurry and pack things away again. It may not be the first thing you think of when it comes to a photography trip. But ensuring you pack and carry the right equipment is essential to being able to capture great travel photos. Like any other aspect of travel photography, it requires planning and careful consideration. With experience, you will become more efficient and find the equipment combination that works best for you. In the meantime use these travel packing hacks as a guide to get you started.