So you got a bad picture you need to look clean? We’ll teach you how to fix grainy photos in Lightroom and Photoshop step by step. [ExpertPhotography is supported by readers. Product links on ExpertPhotography are referral links. If you use one of these and buy something, we make a little bit of money. Need more info? See how it all works here.]
How to Fix Grainy Photos: What is Grain?
The photographic film you use for analog photography has silver crystals in its emulsion coating to make it sensitive to light. The more silver halide crystals an emulsion contains, the more sensitive it is to light. And ISO is how photographers measure a film’s ability to capture light. Back in the day, the ISO values ranged from ISO 25 to ISO 3200. ISO 25 has the least amount of silver, making it perfect for use in bright daylight. Meanwhile, the higher ranges, such as 3200, have more significant pieces of silver that let it capture low levels of light. Large amounts of silver make the photographic film easy to use in low-light conditions. But at the same time, they also create grain or noise in your photos.
How Important Is ISO?
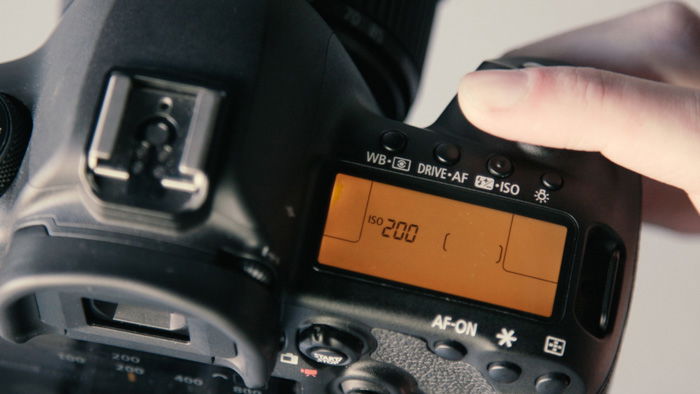
Remember how the amount of silver on the film affects the size of the grain in your image? In many ways, a similar phenomenon happens with digital cameras. These days, digital camera systems still use the ISO. But instead of using silver particles, it now has a light sensor to help it capture light. A lower ISO setting such as 100 or 200 will keep the grain to a minimum. And just like with film, ISO 3200 or above creates a large amount of grain. It’s worth noting that digital cameras have better light sensitivity than their film predecessors. For instance, the Sony A7 III or Canon 5D Mark IV can reach up to ISO 32,000 and 25,000 respectably. Those values are higher than 3200. But like their film counterparts, their high ISO threshold still produces a lot of noise.
Why Do Digital Cameras Also Suffer from Grainy Effect?
The grainy specks you find in digital photos are often referred to as digital noise. There are many reasons why this noise finds its way into your digital images. Higher ISO settings and long exposures are just a few. However, all these issues all boil down to how the digital sensor amplifies the light signals it receives. Explaining why you end up with grainy photos is a bit difficult. But we’ll try to explain it as simple as possible below.
Digital noise
Your sensor converts light to electricity. And when it’s dark, it will have to make those signals stronger to create a correct exposure. In the process, the disparities in the output end up creating grainy photos because of digital noise.
Shot Noise
Apart from digital noise, there is also shot noise. This type of noise doesn’t have anything to do with your camera. Instead, it’s the light entering your camera that creates it. You see, light is made up of photons. And they all travel from the light source to your camera at various speeds. As a result, you’ll end up seeing tiny and dark spots that create grainy photos.
How Do I Fix Grainy Photos Without Photoshop?
Now you must be wondering, how can you make a grainy picture clear? How do you fix or minimise the noise in your photos? There are a few popular ways you can fix grainy images without reducing noise in Photoshop. We’ll show you how to use all of them below.
Set Your Camera to a Low ISO
We always recommend keeping your ISO as close to 100 as you can. Of course, there will be times where you find yourself photographing inside, and you need a higher ISO. Change your aperture first, and then your shutter speed (maximum 1/60 without a tripod/wall) to keep your ISO low. If you find yourself in a low light situation, you can also use different ways to boost the light. For instance, you can look for bright areas to photograph instead of staying in dimly lit locations. You can also set your camera to meter on the lighter areas of the image. Doing so ensures that the camera doesn’t overextend itself in capturing the darker areas.
Work with More Light
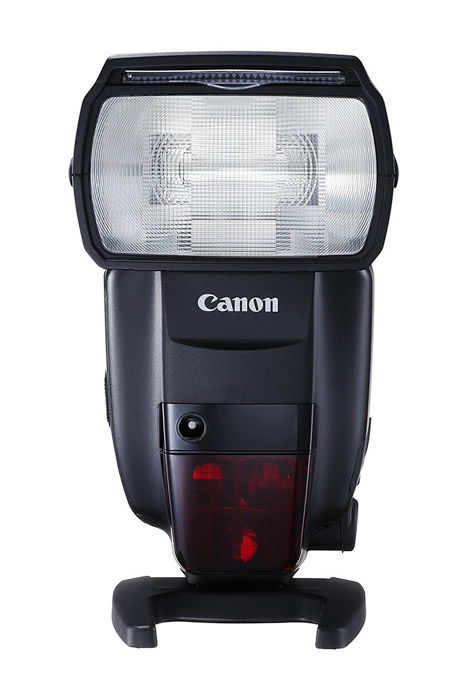
And what if you find yourself in an area with minimal lighting? Then consider using a strobe or flash unit such as the Canon Speedlite 470EX-AI. These artificial lights allow you to produce light where there would otherwise be very little or none. In portrait and studio photography, you can also use a reflector to brighten the darker areas. We recommend the Neewer 43-inch 5-in-1 Multi-Disc Reflector to bounce backlight from the light source. But what about in concert photography where using flash or reflectors is pointless? In this case, you’ll have to use the available lights. Frankly, this is one of those times when you’ll need to work with high ISOs and grainy photos. To help solve this issue without Photoshop noise reduction, let’s go to the next method.
Overexpose Your Images
One trick to fix grainy photos is to overexpose your image slightly. One-stop should be enough. Doing so minimises the grain during the post-processing stage. When you come to increase the exposure, it will reduce the digital noise also. If you want to try this method, avoid overexposing by using a high ISO. Doing so will only increase the noise in your photos. It’s best to lower the shutter speed or widen the aperture instead. Just remember that overexposing your photos can have some consequences. If you blow out your images, you’ll end up losing a lot of detail you can’t bring back in post-production. And if you set the slow shutter speed, you may end up with motion blur. So be very careful when applying this method. Only use it when it’s necessary.
Turn on Your Camera’s Noise Reduction
Many modern cameras now feature built-in noise reduction to help you fix grainy photos without editing them. Each camera has its way of letting you access noise reduction. In most cases, you can find it on the menu. When you turn on the feature, the camera would automatically get rid of the grain for you. Cameras also often offer various levels of noise reduction to fix grainy photos. You can set it to low, medium, or high. We recommend you only use either low or medium. Setting this feature to high could potentially diminish the details in your photos.
Use RAW Instead of JPEG
Noise reduction only works with JPEG photos and isn’t always practical if you want to fix noise. So if you want more control, you’re better off turning it off and using RAW instead. Choosing RAW would allow you more control when you reduce noise in Photoshop or Lightroom. Since the file is editable, you can make a lot of changes without ruining your photos. And when all the methods we just mentioned fail, then you can use RAW to reduce noise Photoshop seamlessly.
How Do I Fix Grainy Photos in Photoshop?
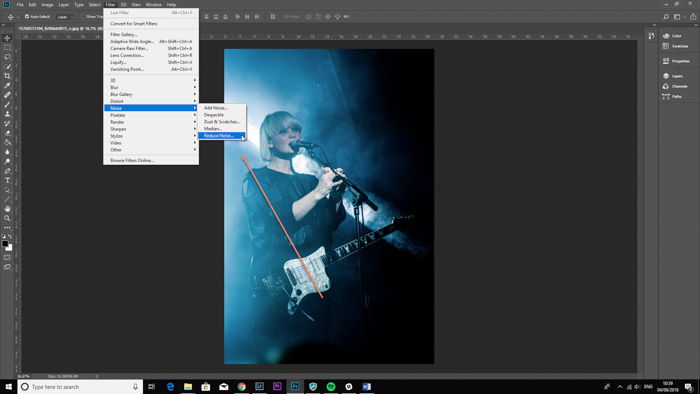
In the image we will be using, the grain is very distracting and brings down the quality of the photo. But we can fix all that by using Photoshop to reduce noise.
First, open the image in Photoshop. Go to Filter>Noise>Photoshop reduce noise.
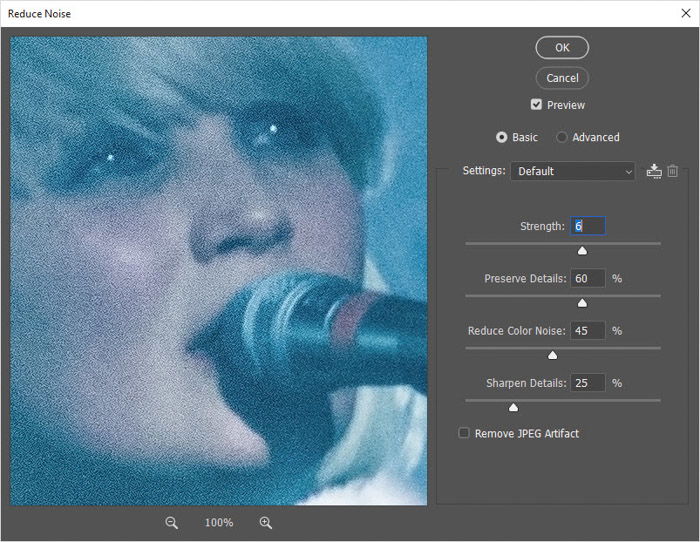
In the Reduce Noise pop-up window, you will see ‘Strength’, ‘Preserve Details’, ‘Reduce Color Noise’, and ‘Sharpen Details’.
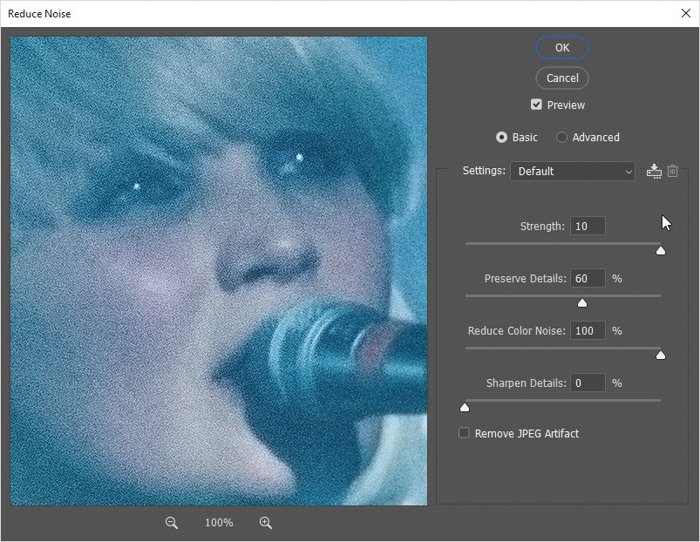
Adjust the three sliders until you fix the image. As you can see, I raised the ‘Strength’ from 6 to 10, reduced the ‘Color Noise’ to 100%, and pulled the ‘Sharpen Details’ to 0%.
Here is the image after the noise reduction. You will need to press the ‘Remove JPEG Artifact’ to see the preview.
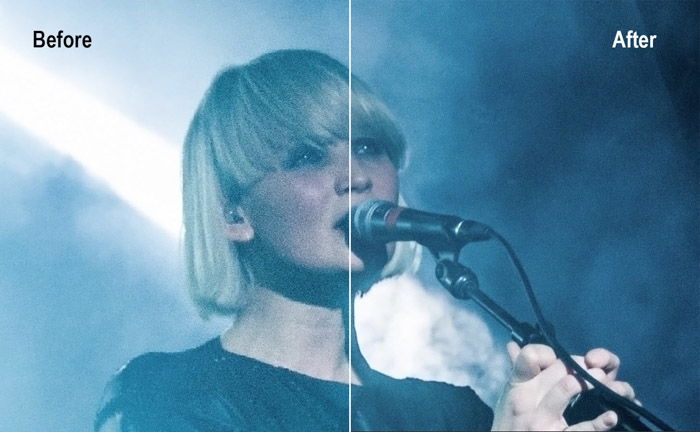
Here is the before and after image from reducing the noise in Photoshop.
How Do I Fix Grainy Photos in Lightroom?
Lightroom is a great tool you can use to fix grainy photos. It has a dedicated adjustment panel for increasing and decreasing the detail in the image. We’ll be using the same image to see how capable Lightroom is as compared to Photoshop.
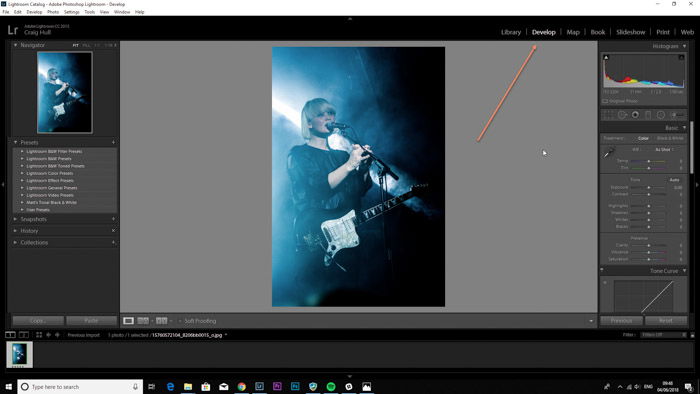
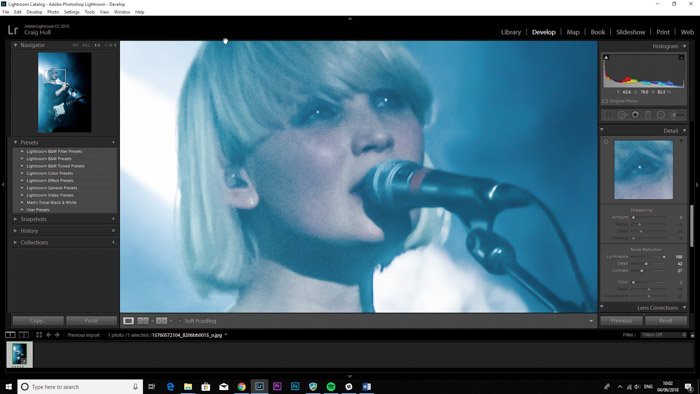
First, open the image in Lightroom. Head over to the ‘Develop’ module.
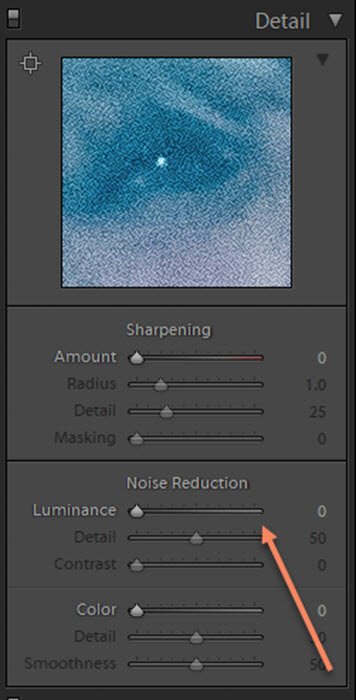
On the right-hand area of Lightroom, go down to the ‘Detail’ panel. The ‘Noise Reduction’ area is what we are going to focus on using.
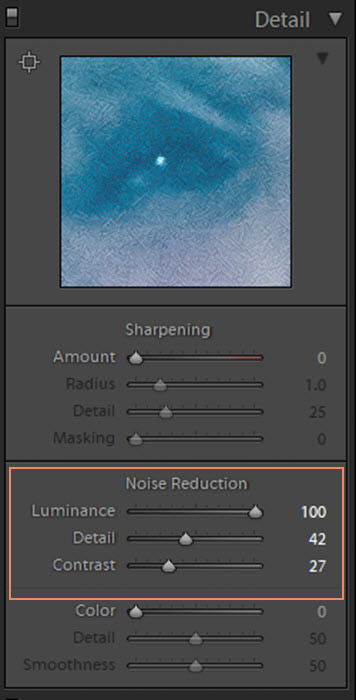
Move the ‘Luminance’ slider to the right, using the preview box above to see how it affects your image. I went to 100% to show you how ‘Luminance’ changes your image, reducing the grain on the pixelated image. I lowered the ‘Detail’ from 50 to 42, to give the image a smoother look, and the ‘Contrast’ went up to 27. Each image is different. Play around with the sliders to give you a picture of the best noise reduction.
Here is the final image after removing most of the grain.
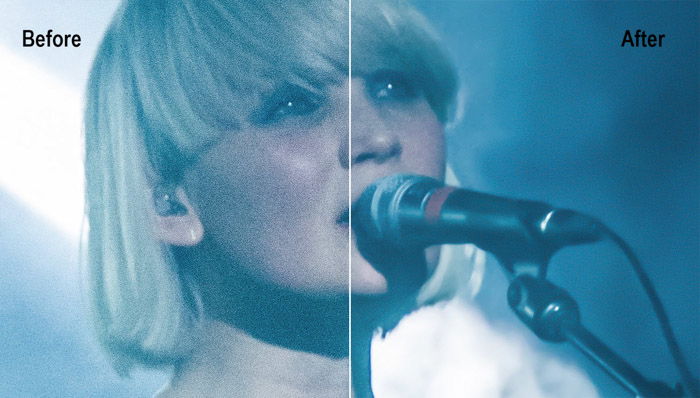
Here, you can see the before and after of the digital noise reduction. The image still isn’t grain-free, but it is less prominent. But it works for my picture, as it isn’t a close-up. When it comes to concert photography images, the grain will be impossible to fix altogether. Although it’s fair to say that the digital noise may even help to give the image an atmosphere as you can see below.
Conclusion: Street Photography Quotes
There you have it! Two different ways of photo retouching to fix grainy photos. Remember that you can’t eliminate grain entirely. But there are plenty of ways to minimise it without Photoshop. Although it’s best to prevent graininess in-camera, you always have the option to reduce grain in post-processing, in both Photoshop and Lightroom. Looking to learn more about how to take your images to the next level in post-processing? Check out our course Effortless Editing with Lightroom next!
