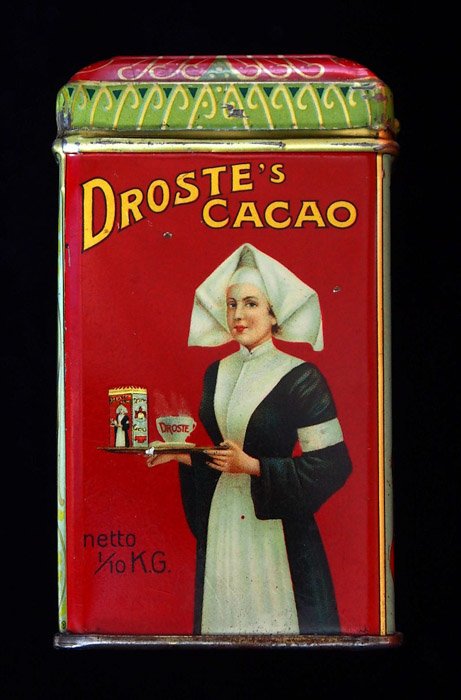
The answer is the Droste Effect, and it’s an exciting and creative way to show a scene photographically. Also known as a ‘Mise en abyme’, this technique involves placing a copy of an image inside the same image. The result creates an illusion of a photo repeating infinitely. So what does Droste mean? This photography technique got its name from a Dutch cocoa company that used the technique for its branding. Their packaging tin depicted an image designed by Jan Misset in 1904. The design displayed a nurse carrying a serving tray with a cup of hot chocolate and a box with the same picture. A variety of products still use this effect to this day. To do the Droste effect you only need one image to edit in Photoshop or Photo Spiralysis. Keep reading to see how to create your very own picture-in-a-picture creation!
Droste Effect Method One – Photoshop
Let’s go through all the steps you need to spiral an image in Photoshop below.
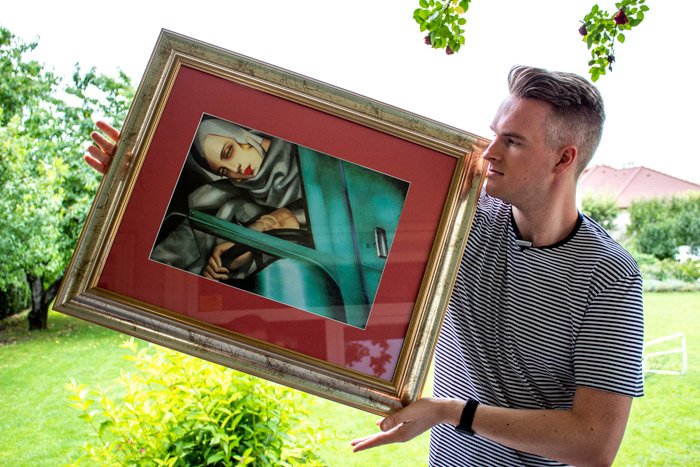
Step 1 – Open your image in Photoshop.
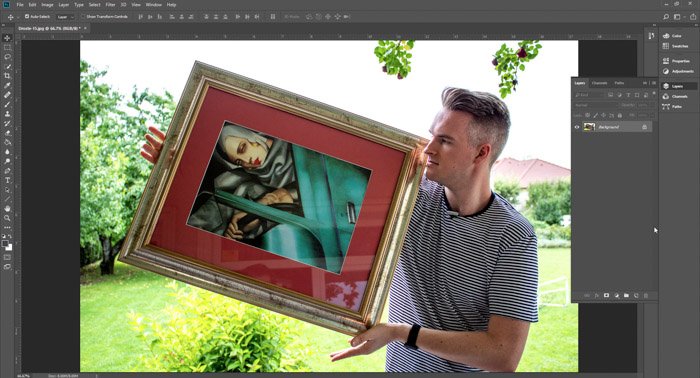
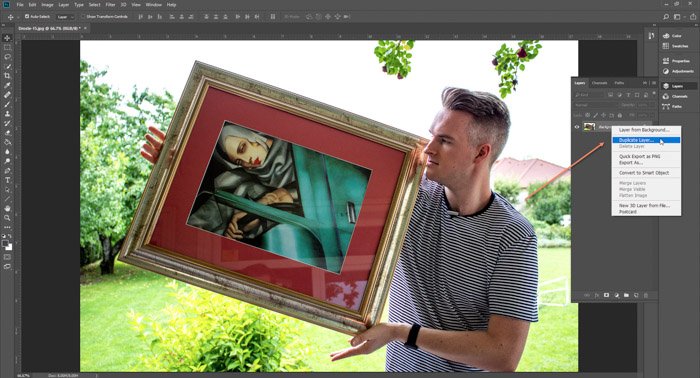
Step 2 – Duplicate and paste the image. Press Ctrl+J or Cmd+J.
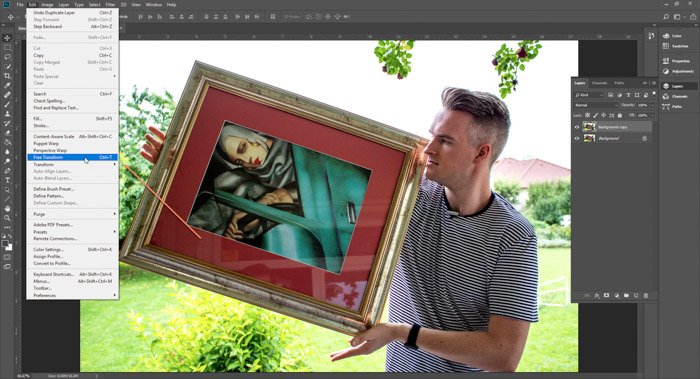
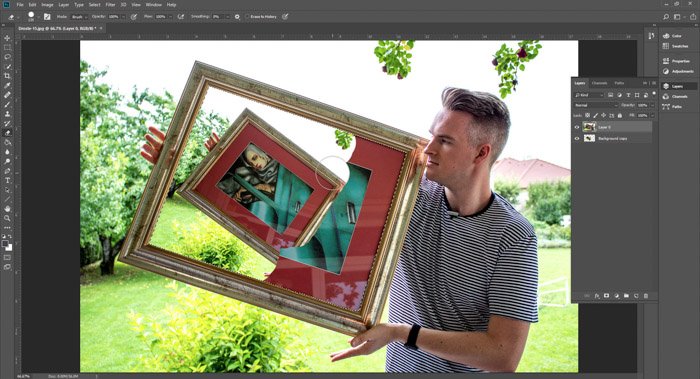
Step 3 – Use Free Transform to scale the image down to size. Hold Ctrl+T or Cmd+T.
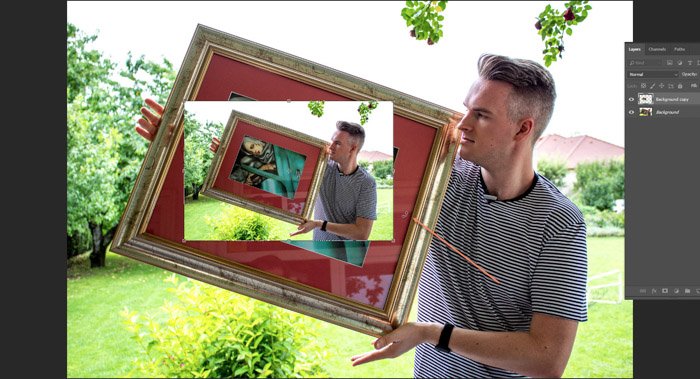
Step 4 – Place it over the area you are going to edit.
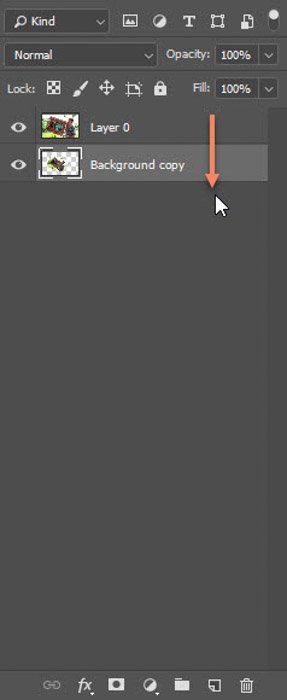
Step 5 – Drag the smaller picture to the bottom of the layer stack.
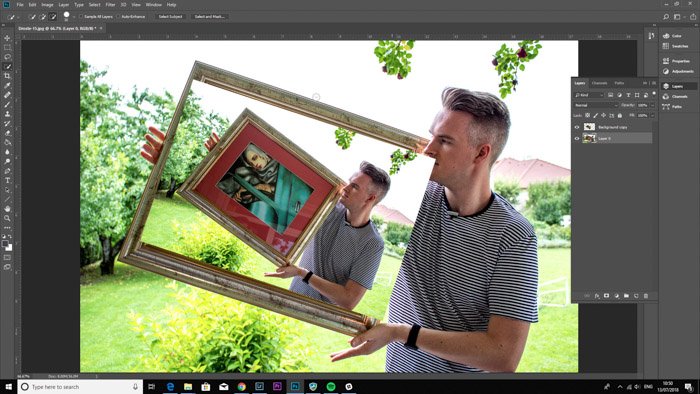
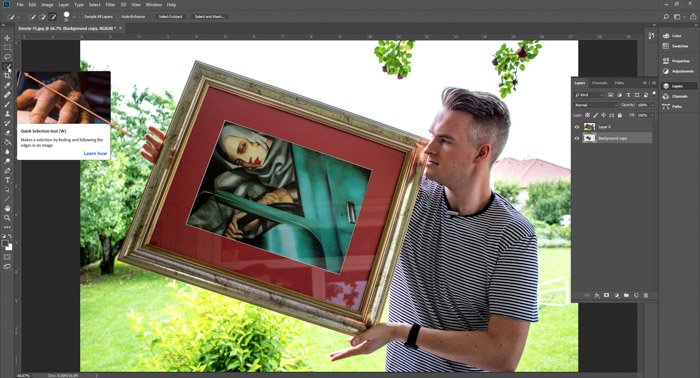
Step 6 – Select the Quick Selection Tool. Press ‘W’.
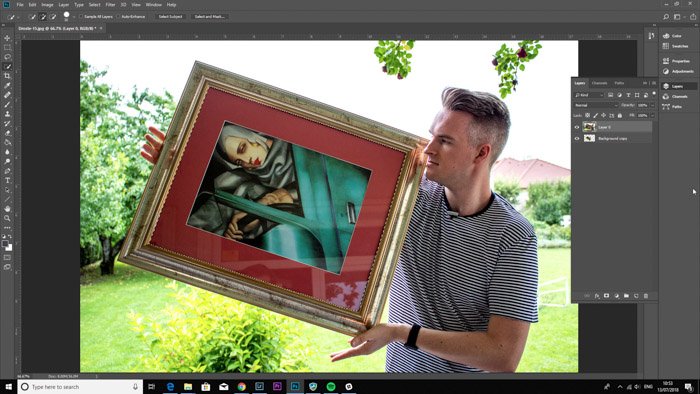
Step 7 – Select the area the picture will go in.
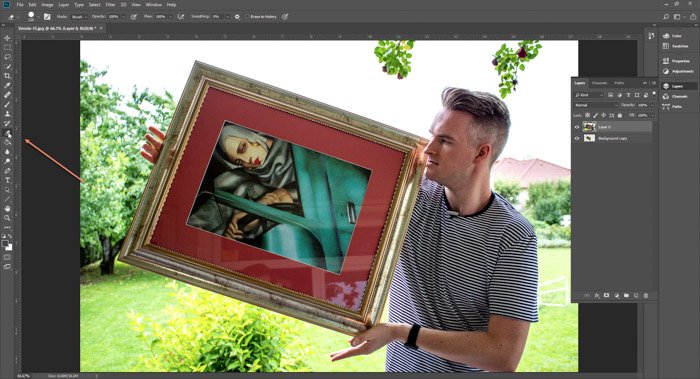
Step 8 – Select the Eraser Tool. Press ‘E’.
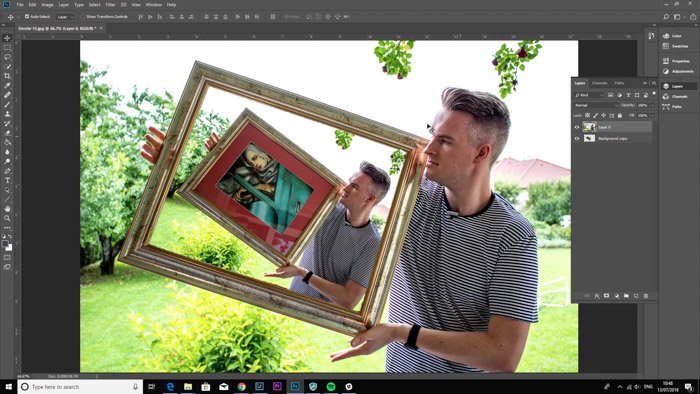
Step 9 – Erase the areas to show the layer underneath.
Step 10 – Repeat Steps 2 to 10 as many times as you need.
And here you have the final result.
Droste Effect Method Two – Photo Spiralysis
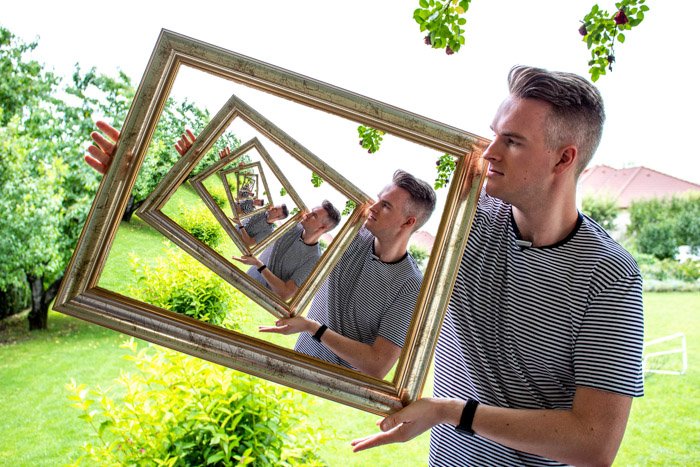
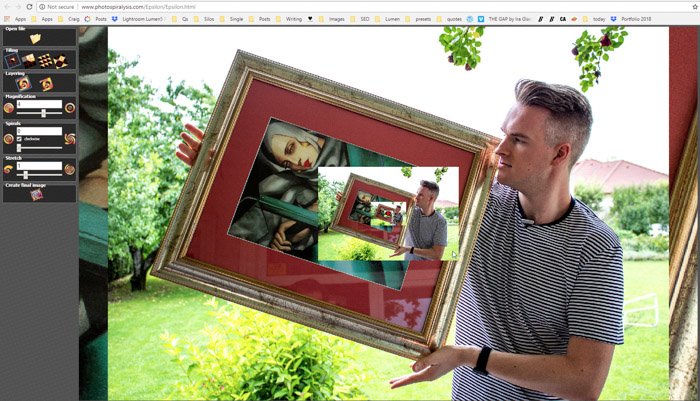
The other method is to open your file in Photo Spiralysis. Below is the image we’ll be using as an example.
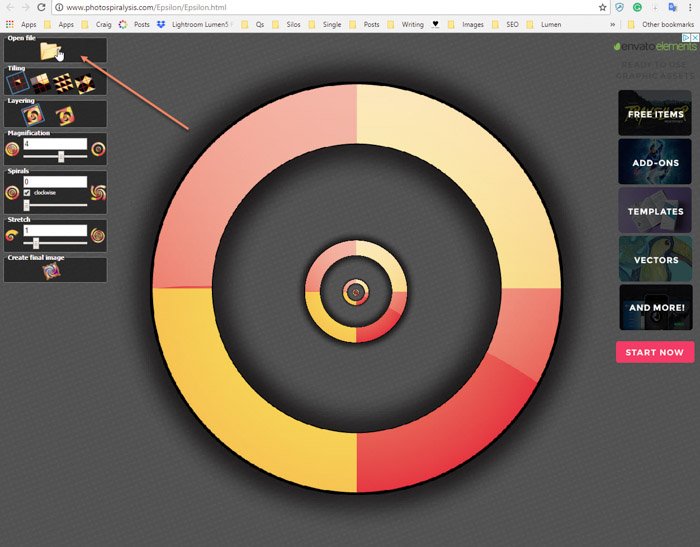
Step 1 – Open the webpage of Photo Spiralysis. Click on the folder icon in the top left-hand corner to import your file.
Step 2 – Familiarise yourself with the settings. Magnification makes the picture larger or smaller. Spirals make more or less spirals in the image, and Stretch allows you to stretch the picture further.
Step 3 – The red dot in the middle is the centre-point. This is the area you need to click and drag to adjust the pictures.
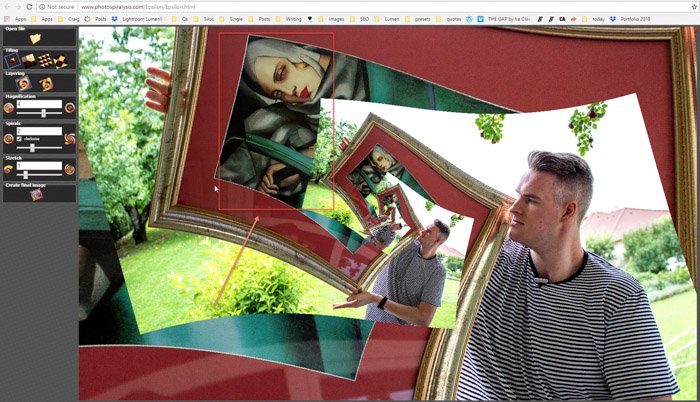
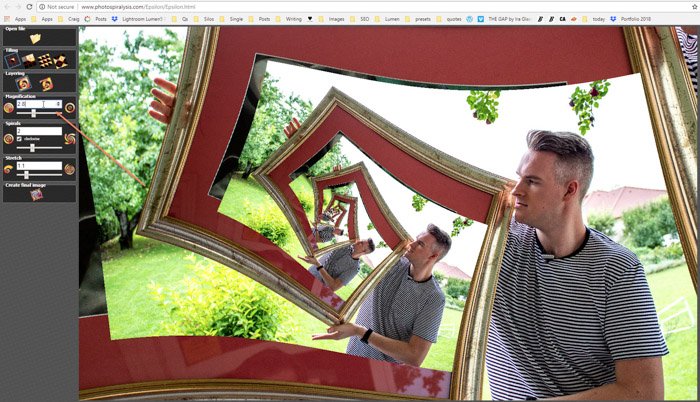
Step 4 – First – We change the spirals to 2. This is when we start to see a change in our file.
Step 5 – The aim is to ensure the picture inside the frame we are using is not visible in our final image.
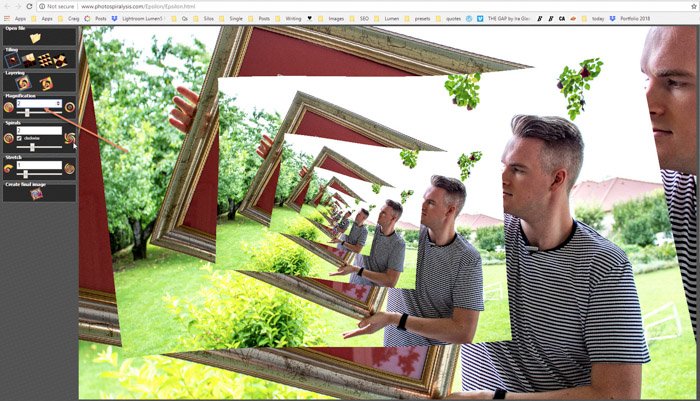
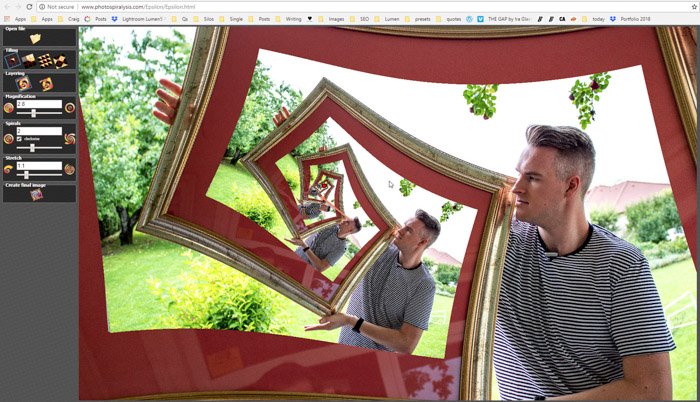
Step 6 – Change the magnification to 2 to get more images repeated, hiding the areas we do not want.
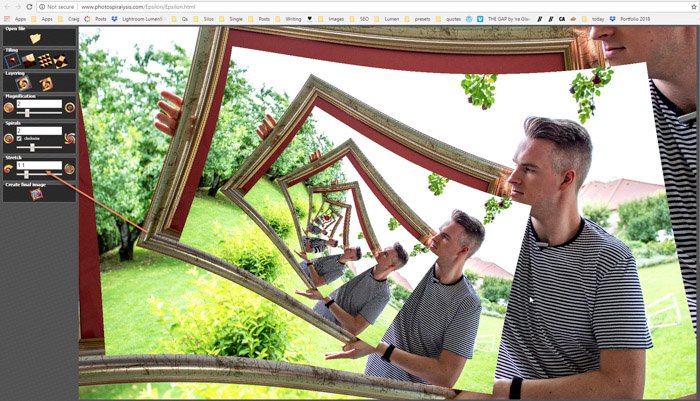
Step 7 – By changing the Stretch from 1 to 1.1 gives us a very drastic change. Now, we start to see our picture take shape.
Step 8 – Play around with the placement of the image by moving the red dot (centre-point).
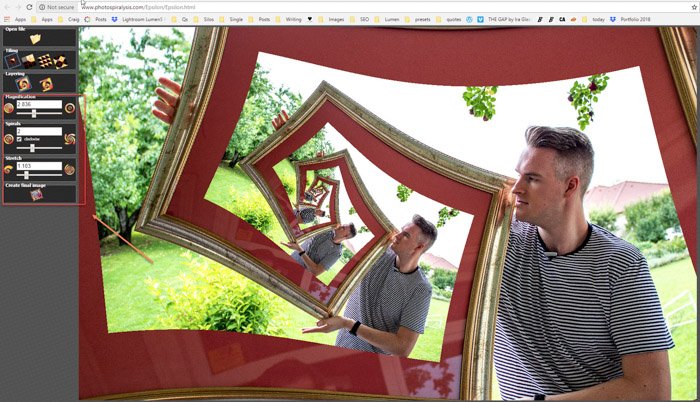
Step 9 – Change the magnification and stretch to find the perfect combination. We found that 2.8 magnification showed us we were on the right track.
Step 10 – Our final numbers were Magnification = 2.836, Spirals = 2 and Stretch = 1.103.
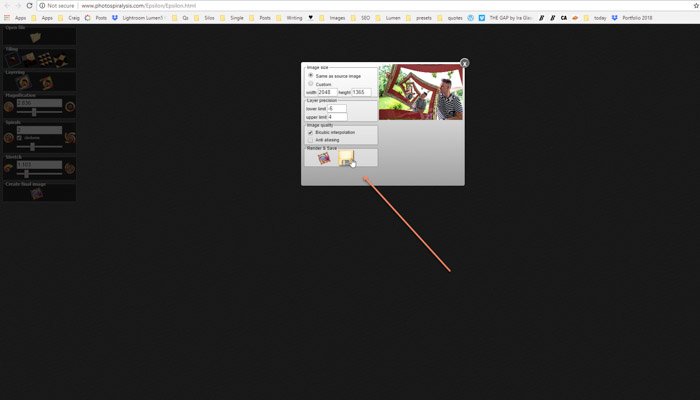
Step 11 – Click on the create the final image icon, then render and save.
And there we have it—an image with a spiral that repeats itself indefinitely. It can be a little finicky to get right, but with patience and time, you can get exciting results.
For more great Photoshop projects, check out our posts on turning photos into paintings.
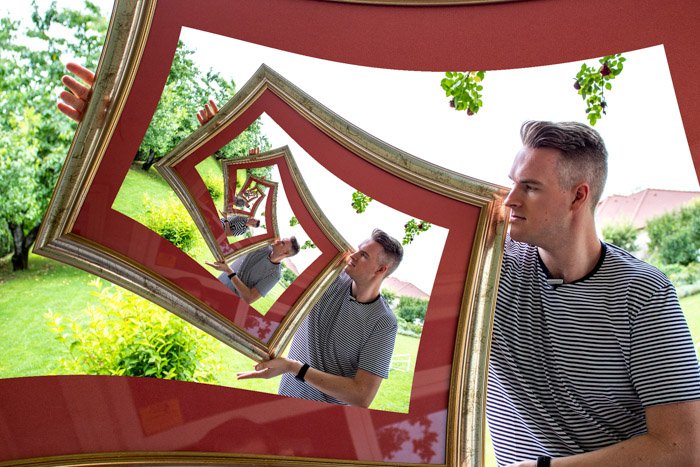
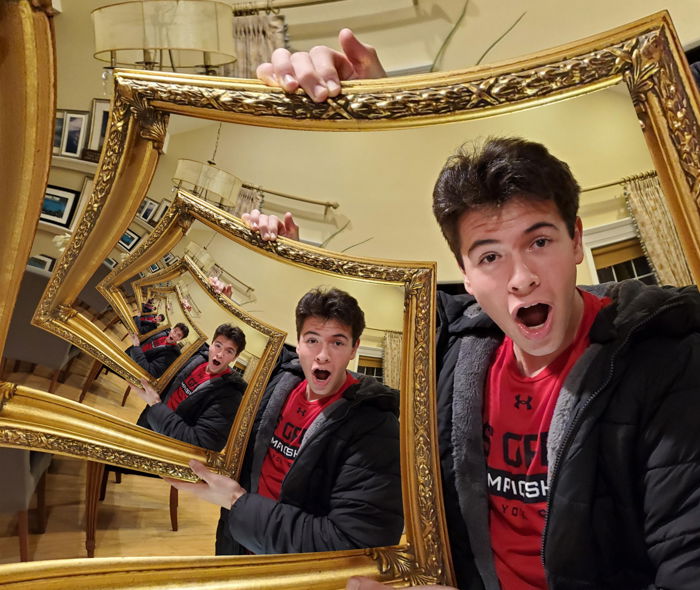
Examples of Droste Effect Photography
Droste Effect photography is one of the topics we cover in our creative photography course, Wow Factor Photography. Below are some of the photos taken by our students. If you’d like to learn more, check out the course here.


title: “How To Create A Cool Droste Effect Photo Step By Step " ShowToc: true date: “2022-12-29” author: “Matthew Gabriel”
The answer is the Droste Effect, and it’s an exciting and creative way to show a scene photographically. Also known as a ‘Mise en abyme’, this technique involves placing a copy of an image inside the same image. The result creates an illusion of a photo repeating infinitely. So what does Droste mean? This photography technique got its name from a Dutch cocoa company that used the technique for its branding. Their packaging tin depicted an image designed by Jan Misset in 1904. The design displayed a nurse carrying a serving tray with a cup of hot chocolate and a box with the same picture. A variety of products still use this effect to this day. To do the Droste effect you only need one image to edit in Photoshop or Photo Spiralysis. Keep reading to see how to create your very own picture-in-a-picture creation!
Droste Effect Method One – Photoshop
Let’s go through all the steps you need to spiral an image in Photoshop below.
Step 1 – Open your image in Photoshop.
Step 2 – Duplicate and paste the image. Press Ctrl+J or Cmd+J.
Step 3 – Use Free Transform to scale the image down to size. Hold Ctrl+T or Cmd+T.
Step 4 – Place it over the area you are going to edit.
Step 5 – Drag the smaller picture to the bottom of the layer stack.
Step 6 – Select the Quick Selection Tool. Press ‘W’.
Step 7 – Select the area the picture will go in.
Step 8 – Select the Eraser Tool. Press ‘E’.
Step 9 – Erase the areas to show the layer underneath.
Step 10 – Repeat Steps 2 to 10 as many times as you need.
And here you have the final result.
Droste Effect Method Two – Photo Spiralysis
The other method is to open your file in Photo Spiralysis. Below is the image we’ll be using as an example.
Step 1 – Open the webpage of Photo Spiralysis. Click on the folder icon in the top left-hand corner to import your file.
Step 2 – Familiarise yourself with the settings. Magnification makes the picture larger or smaller. Spirals make more or less spirals in the image, and Stretch allows you to stretch the picture further.
Step 3 – The red dot in the middle is the centre-point. This is the area you need to click and drag to adjust the pictures.
Step 4 – First – We change the spirals to 2. This is when we start to see a change in our file.
Step 5 – The aim is to ensure the picture inside the frame we are using is not visible in our final image.
Step 6 – Change the magnification to 2 to get more images repeated, hiding the areas we do not want.
Step 7 – By changing the Stretch from 1 to 1.1 gives us a very drastic change. Now, we start to see our picture take shape.
Step 8 – Play around with the placement of the image by moving the red dot (centre-point).
Step 9 – Change the magnification and stretch to find the perfect combination. We found that 2.8 magnification showed us we were on the right track.
Step 10 – Our final numbers were Magnification = 2.836, Spirals = 2 and Stretch = 1.103.
Step 11 – Click on the create the final image icon, then render and save.
And there we have it—an image with a spiral that repeats itself indefinitely. It can be a little finicky to get right, but with patience and time, you can get exciting results.
For more great Photoshop projects, check out our posts on turning photos into paintings.
Examples of Droste Effect Photography
Droste Effect photography is one of the topics we cover in our creative photography course, Wow Factor Photography. Below are some of the photos taken by our students. If you’d like to learn more, check out the course here.
