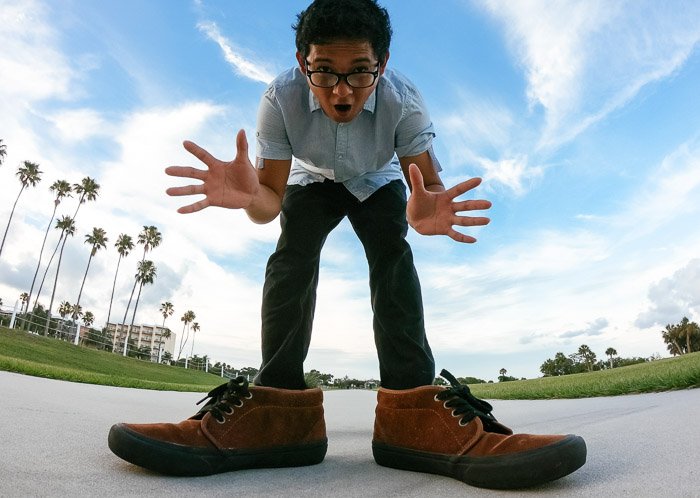
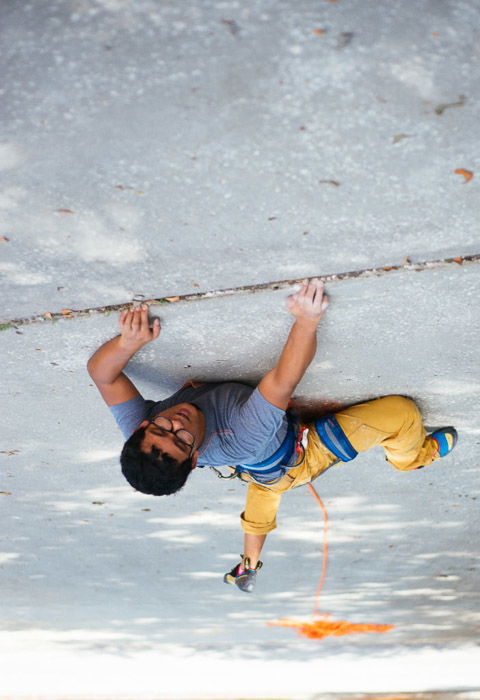
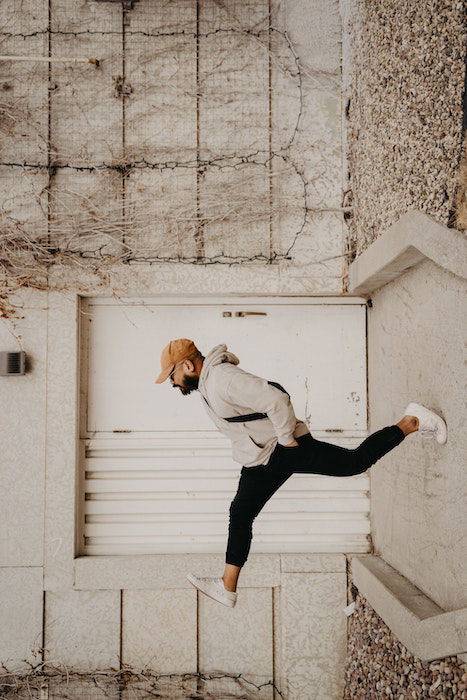
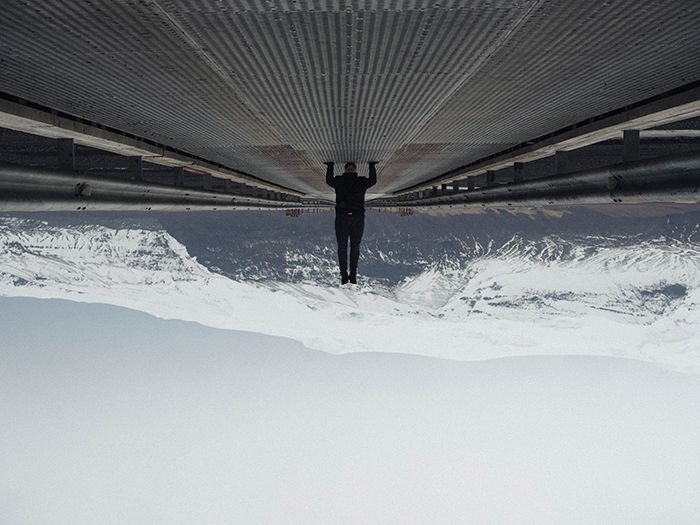
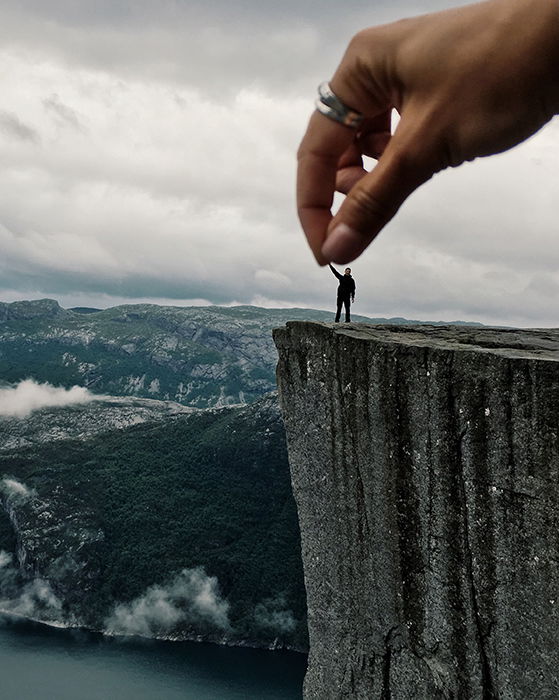
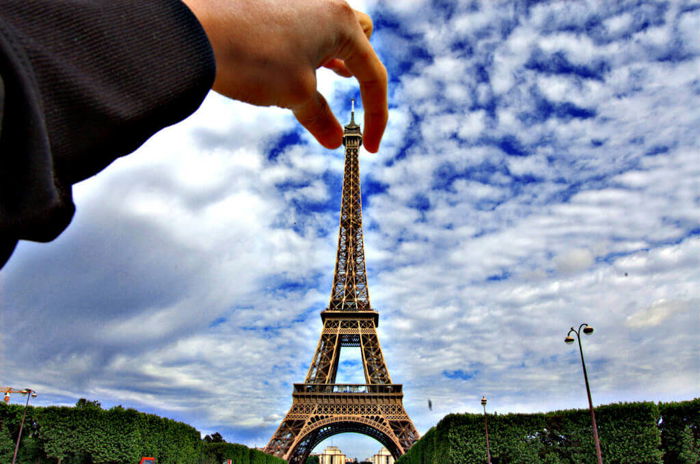
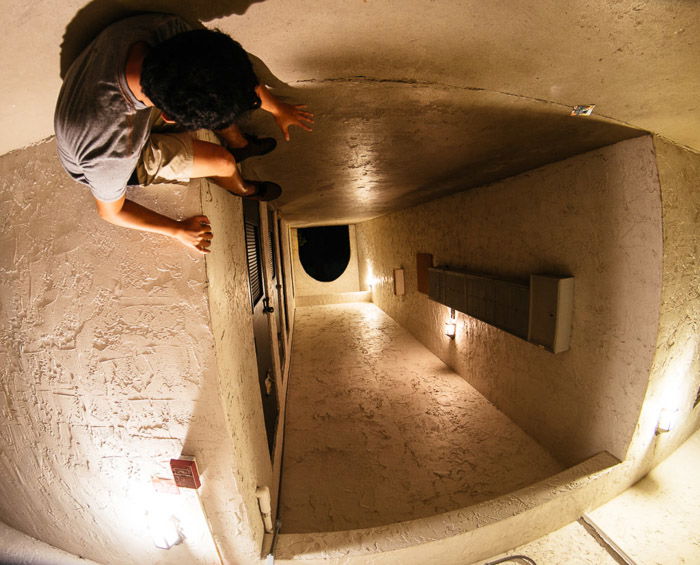
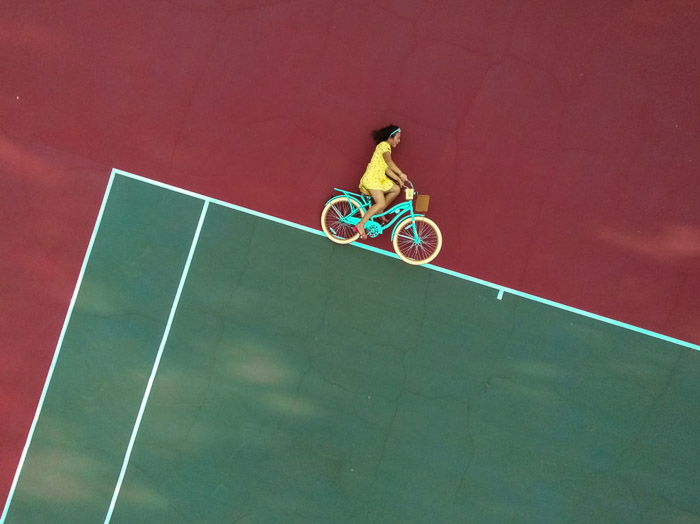
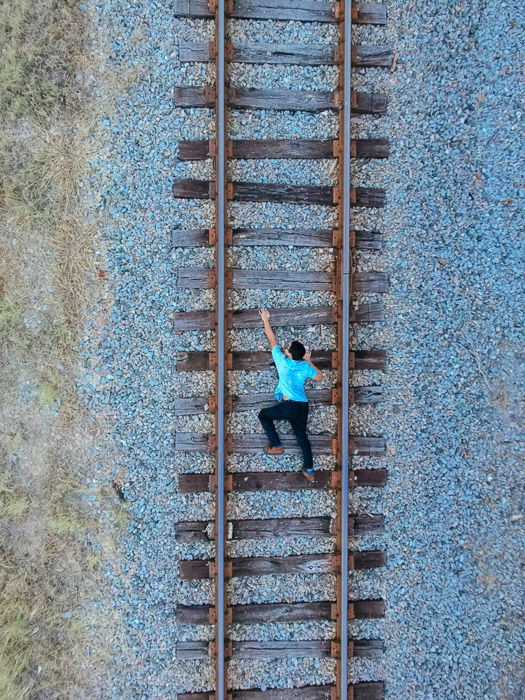
Forced perspective photography is fun and straightforward. You can try this technique anywhere you go. So get creative! [ExpertPhotography is supported by readers. Product links on ExpertPhotography are referral links. If you use one of these and buy something, we make a little bit of money. Need more info? See how it all works here.]
18 Cool Ideas for Forced Perspective in Photography
Follow our great tips to start making forced perspective photos.
1. Find Forced Perspective Photos Online for Inspiration
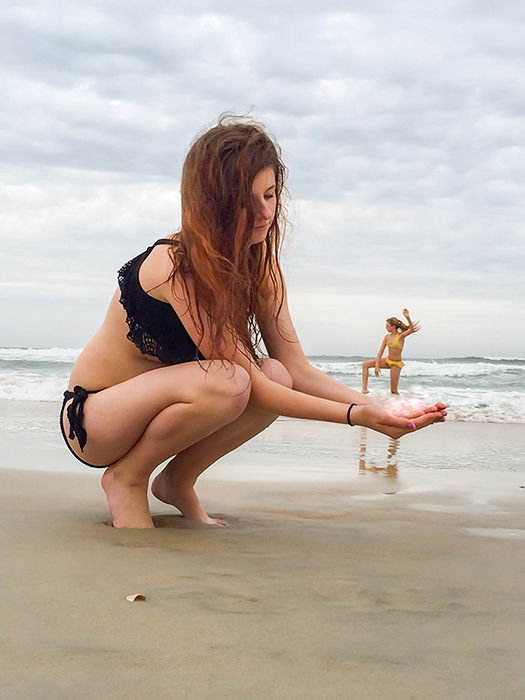
You can find creative photography ideas online if you don’t know where to start. search “forced perspective” on Google, Instagram, or even Pinterest. You’ll find hundreds of examples to inspire you. Popular images include people who appear like gnomes or giants. Even small toys can appear large and realistic. Take your time to look at different pictures, and pick out which ones you like. You can use them as a reference for your project.
2. Plan Each Scene Beforehand for a Convincing Illusion
Every visual element in your frame has to work together. Harmony is the key to making a forced perspective shot convincing. So before you go out and take pictures, figure out how to execute every single scene you want to create Look at some of your reference photos and scout for the best places to take them. If one of your forced perspective ideas involves a bench, choose a location with plenty of them, like a park. Also, list down the necessary props you need for your project. Consider tweaking your concept if you can’t find the right area or object. Plus, think of how to set up your photos. You need to know where to place your camera and where to position your subjects.
3. Take Test Shots at Home to Prepare for the Shoot
After planning the shoot, take some test shots before the real shoot. Take some test shots at home to help you visualize your idea better. See if you might need some more props or what angles work best. That way, you are ready to go when you are at your location!
4. Try a Zoom Lens for Perspective Distortion
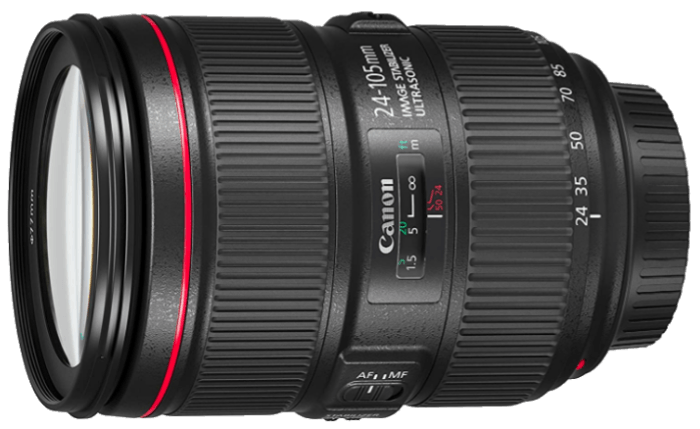
You can use just about any lens to create perspective distortion. But the ideal option is a zoom lens. You’re playing around with perspective or false perspective. So expect to adjust your framing and composition a lot. A zoom lens allows you to re-frame your shot without moving closer or farther away… unlike a fixed prime lens. When using a zoom lens, try not to go lower than 35mm when possible. The perspective distortion in a wide angle can diminish the outcome of the illusion.
5. Use Different Apertures for Sharp Photos or Blurred Backgrounds
Forced perspective photography involves two points of interest. These work together to create an illusion. There is one subject in the foreground and another in the background. And you must make sure everything is sharp from the front to the back. Set your camera to Aperture Priority mode. And choose a small aperture between f/8 and f/16 for a deep depth of field. Try not to go any higher, or you’ll encounter diffraction. This issue arises when the opening is too small, such as f/22 or smaller. And light struggles to get in. The disturbance in the light waves causes your image to lose detail. Meanwhile, there are also situations when you need to blur the background. If so, select your aperture between f/1.2 to f/2.8 instead. A shallow depth of field guarantees a beautiful, soft bokeh. And since you’re using Aperture Priority, you don’t have to worry about shutter speed. The camera chooses it for you. Check your settings every once in a while, especially when you lose available light. When it gets dark, the shutter speed dips down to less than 1/60 s. So your image might end up out of focus due to motion blur. To counter this problem, open your aperture more or bump up your ISO.
6. Work With a Partner to Get the Perfect Shot
It can be quite challenging to do forced perspective photography by yourself. In most cases, you need at least another person to execute an optical illusion. Before you shoot, discuss your concept with your partner beforehand. Describe what the final image will look like, and show them what they need to do to make it work. Show them reference photos to give them a general idea about what you want to create. Apart from taking photos, it’s also your responsibility to tell the subject where to go and how to pose. Since they can’t see what you see on the screen, you need to communicate a lot with each other. Ask them to move forward, back, or sideways until they’re in the right spot. You should also reposition your camera until everything is aligned. This process requires a lot of trial and error, so patience is vital.
7. Bring Abstract Concepts to Life
The cool thing with forced perspectives? You are creating an image that can’t exist in real life! This is the perfect opportunity to play with abstract concepts with a deeper meaning. You can show someone kicking the sunset or running after time. Play with intangible concepts such as fear, time, love, hope, acknowledgment, etc.
8. Incorporate Light as a Subject to Manipulate
You can use light as a cool prop in your image. One way to do this is to create bokeh with a wide aperture (See 5.). Then you can use the circles that bokeh light creates as objects in your photo. You can manipulate them and position them, like in the image below.
9. Use Composition to Create the Best Illusion
Perspective is important in composition. It can create a realistic 3D scene with the 2D image the camera produces. But composition is the most crucial part of forced perspective shots. You must place your subject in the exact spot. Or else people notice the illusion right away. If you want something to look bigger than it is, put it in the foreground. To make it smaller, put it in the background. Then find the sweet spot where your subject appears to interact with your prop. Feel free to zoom in and out or move the camera if necessary. Your goal is to line up the background and the foreground. You want the foreground and background to look parallel. Also, try some basic composition rules to keep your shots balanced. Turn on your camera’s grid line and frame your image with the rule of thirds. And align your subject to one of the sections where the lines intersect. With this method, you will have a well-composed frame.
10. Use Different Angles to Make Your Image Look 3D
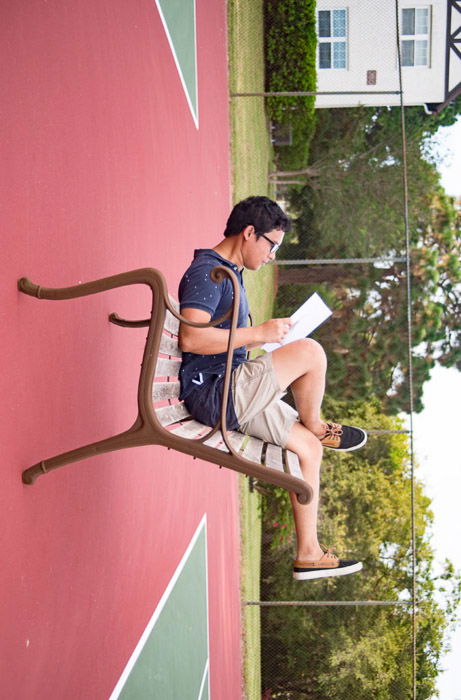
With forced perspective in photography, you must consider what is beyond eye level. Either lay low on the ground or take pictures from above. But first, consider what type of shot you need to create. Do you want the foreground and the background to merge? Then shoot at the ground level. If you’re going to add depth perception to your image, take photos from a higher vantage point. Try to tilt-shift your camera until you get the perspective you want.
11. Use a Tilt-Shift Lens for a Miniature Perspective
A tilt-shift lens angles the optics that hit your image sensor. Basically, you can use it to make everything look miniature. For example, in the image below, a tilt-shift lens is used to make this suburban area look like a miniature model.
12. Line Everything Up to Create a Flat Image
If you want your image to look two-dimensional, then make your subject and prop look as flat as possible. So make sure you line up everything in your shot. In other words, don’t position your camera off the side. A side angle gives away your scene’s real height and depth.
13. Interact With the Environment to Create Depth
The most common backgrounds for forced perspective include flat surfaces, streets, and buildings. In most cases, people use each location for specific purposes. Forced perspective photographers often look for flat surfaces for big and small illusions. Or they use streets and sidewalks to create an illusion of depth or height. As for buildings (e.g., the Leaning Tower of Pisa), pretending to hold them up or carry them is a common trick. You can also think of other ways of interacting with your surroundings. You can apply these to almost every architectural feature you find. And you can use anything from boardwalks to corridors to trick people’s senses or points of view.
14. Use Toys to Add Character to Your Photos
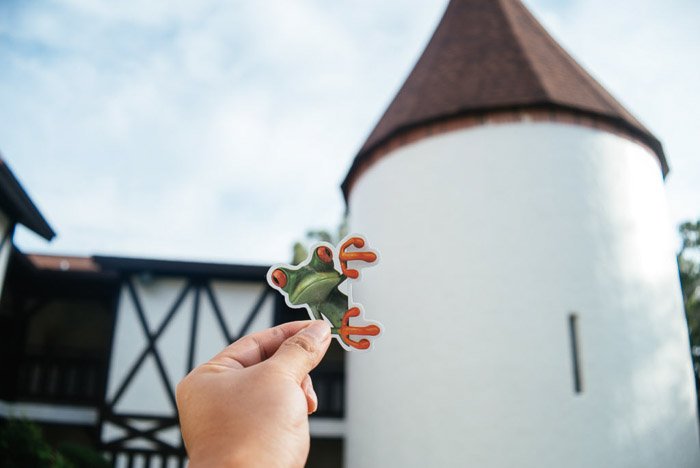
Props are crucial when it comes to turning your ideas into reality. You can use pretty much anything from toys of different sizes to real objects to create such shots. As mentioned, you can place a small item in the foreground to make it look bigger. Remember, the smaller the object in the foreground, the farther you have to move your subject.
15. Incorporate Buildings or Big Objects to Create Illusions
Of course, toys aren’t the only props you can use. You can also find ways to incorporate real objects. Try benches, lamp posts, and fire hydrants to add to your illusion. There are plenty of ways to interact with them, as well. You can hold on to them, lean on them, or place them in the background.
16. Make Viewers Wonder How You Got That Shot
Context is king when it comes to forced perspective photos. Your image is an illusion. So you want people to ask, “Wow, how did you get that shot?” But you should make it easy for viewers to understand what they’re looking at. Get rid of any unnecessary visual elements in your frame to help them get the picture’s point right away. At the same time, you should make it difficult for them to figure out what makes the illusion works. People often recognize a manipulated photo. But what makes forced perspective fun is seeing people puzzle over how you got the shot.
17. Use Paper Cutouts to Transform Objects
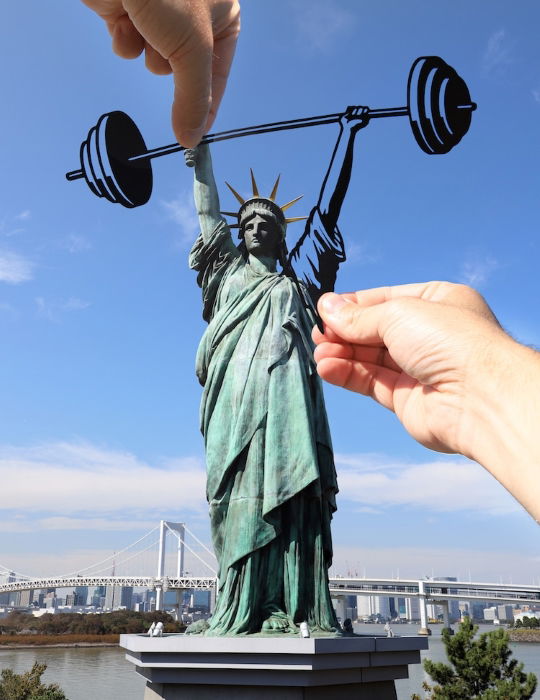
These whimsical images were created by Rich McCor, known on Instagram as Paperboy. He turns everyday objects into cute images. He uses paper cutouts, forced perspective, and a pinch of imagination. We love how simple yet entertaining his work is. A black card works best for these images. You can find these black cards in any arts and crafts store. And for extra clean lines on your cutout, use a cutting mat and a Xacto knife!
18. Have Fun With Forced Perspective Shots!
The more fun you have with forced perspective, the more creative you will be. You can use literally anything around you to get started. Use a coffee mug and get a friend to stand behind it. Pose a friend with your dog so it looks like a giant. The options are endless as long as you have fun!
Conclusion
These tips help you start out with forced perspective in photography. Open your mind and experiment with your surroundings and visual perception. Your imagination is the only limit! If you look around, you’ll find opportunities to create optical illusions everywhere. It’s time to get out of your comfort zone! If you’re interested in trying more creative photography ideas… check out our posts on spiral light painting or surreal photography.
